
Wind stings your eyes within seconds of hitting the open road, turning a scenic ride into a gritty battle against dust and debris. Without properly fitted motorcycle goggles, you’re risking more than just discomfort—you’re gambling with your vision and safety. A single bug impact at highway speeds can cause involuntary blinking or tears, creating dangerous blind spots. This isn’t just about compliance; it’s about maintaining crystal-clear vision when split-second reactions matter most. You’ll learn exactly how to wear motorcycle goggles to create an airtight seal, prevent fogging, and integrate them seamlessly with your helmet—no more guessing or painful adjustments mid-ride.
Most riders make the critical mistake of treating goggles as an afterthought, jamming them under their helmet straps and hoping for the best. But ill-fitting goggles compromise your entire protective system. When wind forces its way through gaps, it doesn’t just cause irritation—it creates pressure differentials that fog lenses from the inside and force you to constantly readjust. Properly worn motorcycle goggles become an extension of your face, moving with you as you turn your head to check blind spots. This guide cuts through the confusion with field-tested techniques used by professional riders to achieve instant comfort and unbreakable visibility, whether you’re navigating city streets or open highways.
Why Your Goggle Fit Determines Ride Safety
A loose seal around your eye sockets isn’t just annoying—it’s a direct threat to control. Wind infiltration at 40+ mph creates micro-turbulence that vibrates lenses, causing visual distortion similar to looking through heat haze. This forces your brain to work overtime interpreting blurred scenery, leading to fatigue within 20 minutes of riding. More critically, gaps allow road debris like gravel or insects to penetrate at dangerous velocities. Properly fitted motorcycle goggles eliminate these gaps through consistent pressure distribution, maintaining stable oxygen levels around your eyes to prevent dryness and involuntary blinking. Riders who skip fit checks often discover too late that their “snug” goggles shift during acceleration, creating dangerous blind spots just when they need peripheral vision most.
How to Wear Motorcycle Goggles: The 4-Step Seal Process

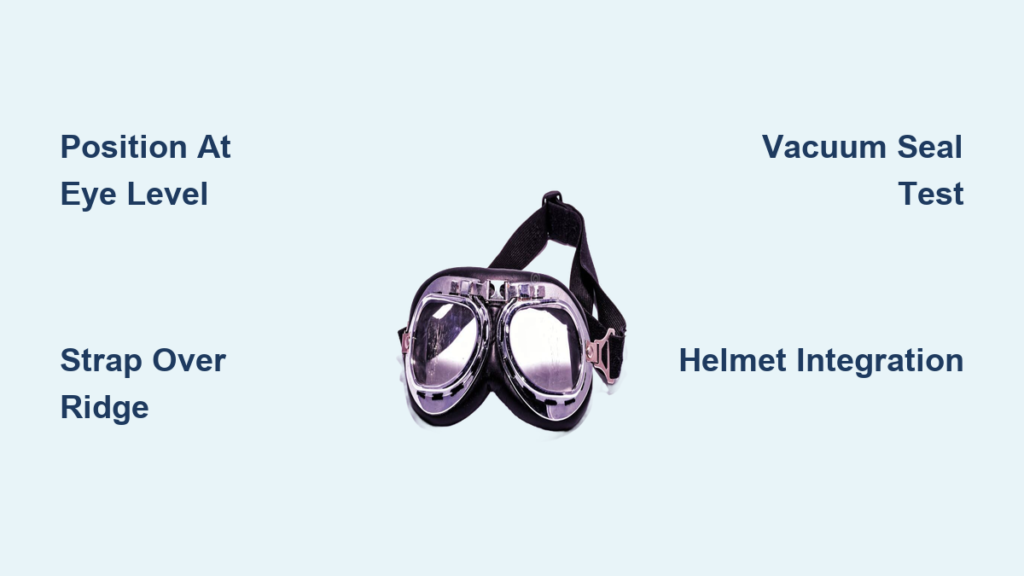
Position Goggles at Eye Socket Level for Pressure-Free Comfort
Slide goggles straight onto your face without tilting—your brow bone and cheekbones should align perfectly with the frame’s upper and lower edges. The foam gasket must contact skin all the way around without pinching your nose bridge. If you feel pressure on your sinus area, the frame is too narrow; if light leaks at your temples, it’s too wide. Your eyes should sit dead-center in the lens viewport, not cramped toward the bottom. This positioning prevents the “goggle headache” caused by uneven strap tension, keeping your vision field fully accessible during aggressive head movements.
Adjust Strap Placement Over Your Occipital Ridge
Thread the strap through your hair (not over it) and position the buckle directly over the bony bump at the base of your skull—the occipital ridge. This is the only stable anchor point that won’t slip when wind hits. Tighten incrementally: first secure the strap just enough to hold position, then rotate your head side-to-side. If goggles shift, increase tension by one notch. Stop when you feel firm contact without cheek compression—over-tightening redirects pressure to your nose, causing fogging and discomfort. Pro tip: moisten the strap with water before tightening for better grip on synthetic materials.
Perform the Vacuum Seal Test Before Every Ride
With goggles seated on your face, cover the lenses with both palms and inhale sharply through your nose. Properly fitted goggles will suction firmly against your skin, creating a slight vacuum that holds position for 3+ seconds after you release. If they fall immediately or you feel air gaps near your nose, the foam gasket is worn or the frame size is wrong. Never ride with a failed seal test—wind will force contaminants behind the lens within minutes. For double confirmation, exhale gently while wearing them; no breath mist should escape around the edges.
Integrate Goggles With Helmet Eyeport Without Frame Pinching
Put on your helmet over the goggles and check three critical zones: First, ensure the helmet’s lower eyeport padding doesn’t crush the goggle frame against your cheekbones. Second, verify the strap sits flat between helmet and head without bunching. Third, open and close your jaw—goggles should move with your face, not pull away. If your helmet pushes goggles down your nose, add thin foam tape to the helmet’s brow area. Never force goggles into a helmet that visibly distorts the frame; this creates permanent pressure points that break the seal.
Avoid These 4 Costly Goggle Fit Mistakes

- Riding With Helmet Over Goggle Straps: Placing helmet straps over goggle straps creates slack that pulls goggles downward at speed. Always route helmet straps under goggle straps at the nape of your neck for clean tension distribution.
- Ignoring Foam Compression Signs: Flattened, shiny, or cracked foam gaskets can’t form seals—even if they look intact. Press gently on the foam; if it doesn’t spring back within 2 seconds, replace it immediately.
- Wearing Sunglasses Under Goggles: Layering eyewear creates air pockets that fog lenses instantly. For prescription needs, use goggles with optical inserts or magnetic corrective lenses designed for goggle cavities.
- Skipping Post-Ride Seal Checks: Foam degrades from sweat and UV exposure. After every ride, inspect for oil spots (from sunscreen) or collapsed foam cells—these create invisible leak paths that worsen with heat.
Critical Goggle Components for Reliable Fit

Your frame’s rigidity directly impacts seal integrity. Flexible plastic frames warp under wind pressure, breaking contact at weak points. Opt for dual-density frames: rigid core material maintains shape while flexible outer edges conform to facial contours. The foam gasket requires 15-20mm thickness with multi-layer density—soft inner layer for comfort, firmer outer layer to resist compression. Avoid thin foam “racing” styles for street riding; they wear out 3x faster. Straps must feature silicone-backed fabric with 5+ adjustment notches—elastic straps stretch permanently after 3 months of use, causing chronic slippage.
Putting On Motorcycle Goggles: The 6-Step Setup Routine
- Prep Your Face and Gear: Wipe sweat or oils from your face with a microfiber cloth. Ensure hair is pulled away from the seal zone—especially sideburns and forehead fringe.
- Mount Goggles Without Lens Contact: Hold goggles by the frame (never touch lenses) and stretch the strap over the back of your head, clearing your ears. Let them rest loosely on your face.
- Center Frame on Facial Landmarks: Align the nose bridge with your septum and the top edge with your brow bone. The frame should feel balanced, not tilted up or down.
- Tension Strap Over Occipital Ridge: Pull strap ends evenly until snug, then click the buckle over the skull’s bony protrusion. Tug gently upward on the frame—if it lifts, tighten strap one notch.
- Helmet Integration Check: Don your helmet slowly. If goggles shift, loosen helmet straps slightly before re-securing. The helmet should sit on top of goggles without pressing them into your face.
- Dynamic Seal Verification: Shake your head vigorously side-to-side and up-down. Goggles must stay locked in place with zero lens vibration. If they slip, redo steps 3-4—never compensate by over-tightening.
Maintain Your Goggle Fit With 3-Minute Post-Ride Checks
After every ride, remove goggles carefully by lifting the strap from the back—never yank them forward over your nose. Inspect the foam gasket under bright light for compressed channels (visible as shiny, flattened paths where skin contacted foam). Clean lenses with distilled water only; tap water leaves mineral deposits that scatter light. Store goggles in a rigid case away from direct sunlight to prevent foam degradation. Replace foam gaskets every 6 months with heavy use, or immediately if you notice persistent fogging despite anti-fog treatments. Remember: a $20 foam replacement preserves your $200 goggle investment and, more importantly, your vision.
Keep Your Vision Protected: Motorcycle Goggle Safety Checklist
Never accept compromised vision as “just part of riding.” Properly worn motorcycle goggles should feel invisible within 5 minutes—no pressure points, no air leaks, and zero fogging during normal breathing. If you’re constantly adjusting them, your frame size is wrong or components are worn. Before your next ride, conduct the vacuum seal test and helmet integration check; these two steps prevent 90% of fit failures. Remember that goggle fit changes with facial swelling (from heat or allergies), so recheck tension during long rides. Most importantly, if your vision blurs from wind or debris during a ride, pull over immediately—continuing risks permanent eye damage. Your goggles aren’t just gear; they’re your first line of defense against irreversible vision loss. Treat them with the same precision as your brakes: regularly inspected, properly maintained, and never compromised.


