
Have you ever tried swimming with your glasses on? It’s a recipe for disaster. For those who rely on corrective lenses, water sports and swimming can be a frustrating blur. While you can buy prescription goggles, they can be expensive or have long wait times. What if you could make your own? This guide provides a step-by-step process, technical considerations, and crucial safety information for converting your old prescription glasses into functional, watertight swimming goggles. We’ll cover everything from lens cutting to optical science, so you can see clearly on your next trip to the pool or the sea.
The “how to turn glasses into goggles” process is surprisingly accessible with the right tools and knowledge. Many swimmers with vision correction needs have successfully transformed spare pairs of glasses into reliable swimming aids without breaking the bank. Whether you’re a recreational swimmer, triathlete, or just someone who wants to see clearly at the beach, this DIY solution offers an affordable alternative to expensive prescription goggles.
Before we dive into the conversion process, understand that proper execution is critical for both optical performance and eye safety. This isn’t just about making something watertight—it’s about creating a functional optical system that works underwater. Let’s explore exactly how to turn glasses into goggles safely and effectively.
Why Standard Glasses Fail Underwater
When you submerge regular glasses, your vision becomes blurry despite the corrective lenses. This happens because water and plastic lenses have similar refractive indices (about 1.33 for water versus 1.5 for plastic), which cancels out the corrective power. The magic of successful “how to turn glasses into goggles” conversion lies in maintaining an air gap between your eye and the lens.
Without this air pocket, light bends incorrectly through the water-lens interface, defeating the purpose of your prescription. This is why simply wearing glasses underwater doesn’t work, and why creating a proper seal around your DIY goggles is non-negotiable for clear vision. The air gap preserves the necessary refractive index differential that allows your prescription to function correctly.
For those with astigmatism, the challenge is even greater. Even slight rotation of the lens axis—just a few degrees—can significantly degrade visual correction. Proper lens orientation during your glasses-to-goggles conversion is absolutely critical for maintaining clear vision.
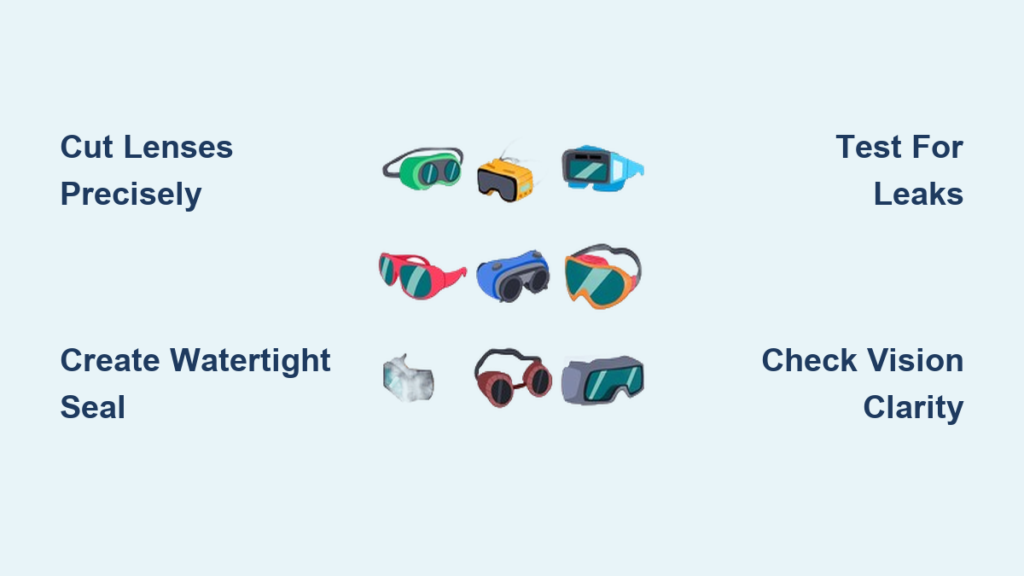
Selecting the Perfect Base Goggles for Conversion
Your starting point determines your final success when learning how to turn glasses into goggles. Choose standard swimming goggles with a simple, flat lens design rather than complex curved lenses. Smaller, more form-fitting goggles typically provide a better base for modification and create a more reliable seal.
Avoid goggles with built-in nose bridges that can’t be easily disassembled. Look for models with separate left and right lens compartments, as these are much easier to modify than single-pane designs. Popular budget-friendly options from SwimOutlet and Amazon often work well for this conversion process.
The frame material matters too—opt for rigid plastic frames rather than flexible rubber designs. Rigid frames maintain their shape better during the lens replacement process and provide a more stable platform for your prescription lenses. Before purchasing, confirm that the goggles can be fully disassembled using small screwdrivers.
Essential Tools for Your Glasses-to-Goggles Transformation

Gathering the right gear is the first critical step in your how to turn glasses into goggles project. A proper setup is key for both successful conversion and your safety.
You will need:
* A Dremel or rotary tool with cutting wheel and sanding drum attachments
* Dremel polishing kit (200 to 1000+ grit)
* Non-toxic, waterproof silicone sealant designed for aquariums
* Safety goggles, dust mask, and safety gloves
* Fine-tip permanent marker and small screwdrivers
* Fine-grit sandpaper (400-1000 grit)
Crucially, your old prescription lenses must be at least 0.5mm thick to maintain structural integrity during cutting and sanding. Daily-wear glasses often have thin, high-index lenses that can shatter—use spare or outdated pairs instead.
Step-by-Step Lens Cutting and Integration Process
Precise Lens Tracing and Cutting
- Disassemble your goggles using small screwdrivers to remove the lens assembly from the frame
- Place the original goggle lens over your old eyeglass lens and trace its shape with a fine-tip marker
- Cut just outside the traced line using your Dremel with a cutting wheel—always wear safety gear
Pro Tip: Work slowly and apply minimal pressure to avoid cracking the lens. Let the tool do the work rather than forcing it through the material.
Perfecting the Lens Edge Finish
- Rough shape the cut lens using a grinding bit to approach the traced line
- Smooth the edges with a sanding drum attachment
- Progress through finer grits (200 → 400 → 600 → 1000+) to create a polished, smooth edge
This step is critical—smooth edges ensure a proper seal and prevent micro-fractures that could cause lens failure underwater. The final polish should be flawless with no visible scratches or rough spots.
Creating a Watertight Seal for Clear Vision

Proper Sealant Application Technique
- Test fit your cut prescription lens into the goggle frame
- Apply a thin, even bead of waterproof silicone sealant to the frame’s lens groove
- Gently press the prescription lens into the silicone
- Wipe away excess sealant immediately with a damp cloth
- Reassemble the frame and allow 24-48 hours for full curing
Never skip the curing time—using partially cured goggles can lead to seal failure and water leakage during use. The seal must be completely watertight to maintain the critical air gap that makes your vision correction work underwater.
Critical Safety Checks Before Water Use

Mandatory Pre-Use Testing Protocol
Before taking your DIY goggles into the water, perform these essential safety checks:
- Leak test in sink water—press the goggles against your face without straps to check for immediate leaks
- Pressure test—gently press the goggles against your face to simulate water pressure
- Vision verification—check for optical clarity and proper axis alignment (especially for astigmatism)
- Seal integrity check—inspect the silicone seal for any gaps or thin spots
Never wear contact lenses while swimming, even under goggles. Waterborne pathogens like Acanthamoeba can become trapped behind contacts, causing severe, difficult-to-treat eye infections. Your DIY prescription goggles eliminate this risk entirely.
Troubleshooting Common Conversion Issues
Fixing Fogging Problems
If your DIY goggles fog up immediately in water:
- Apply a commercial anti-fog solution before swimming
- Try a mild soapy water rinse and let it air dry
- Ensure proper ventilation in your goggle design
- Avoid touching the inside lens surface with fingers
Solving Leakage Issues
Water leakage almost always indicates a seal problem:
- Completely disassemble and clean both lens and frame
- Apply a fresh, continuous bead of silicone sealant
- Ensure no dust or debris is trapped in the seal
- Allow proper curing time before retesting
Blurred vision underwater typically means your astigmatism correction is misaligned—double-check lens orientation markings before final assembly.
When Professional Prescription Goggles Are Worth the Investment
While learning how to turn glasses into goggles works well for many swimmers, certain situations call for professional solutions:
- Extreme prescriptions beyond ±6.00 diopters
- Competitive swimming requiring optimal hydrodynamics
- Frequent diving where pressure changes test seal integrity
- High-astigmatism corrections needing precise axis alignment
Commercial prescription goggles now start as low as $10-20 on platforms like Amazon and SwimOutlet, offering ready-made solutions with proper optical alignment. For recreational swimmers with moderate prescriptions, however, the DIY approach remains a cost-effective solution that puts your old glasses to good use.
Maintaining Your Custom Prescription Goggles
After successfully converting your glasses to goggles, proper maintenance ensures longevity:
- Rinse thoroughly with fresh water after each use
- Store in a protective case away from direct sunlight
- Inspect seals regularly for cracks or degradation
- Replace if you notice optical distortion or seal compromise
With proper care, your DIY prescription goggles can last through multiple swimming seasons, providing clear vision at a fraction of commercial costs. The key is regular inspection—don’t risk eye safety by using compromised equipment.
By following this detailed process for how to turn glasses into goggles, you’ve created a functional solution that bridges the gap between vision correction and aquatic activity. Whether you’re splashing in the pool or exploring the ocean, your custom goggles ensure you never miss a moment due to poor vision again.


