
If you’ve cracked a lens on your favorite pair of sunglasses and the frames are still in great shape, you’re probably wondering how to remove lenses from sunglasses without destroying the frame. Thousands of people search for this exact solution every day, whether they’re looking to upgrade to polarized lenses, replace scratched optics, or simply refresh a vintage pair they can’t bear to throw away. The good news is that most full-rim plastic frames can be safely disassembled at home with the right technique. The bad news? One wrong move, like using a knife or forcing a cold frame, can crack acetate or strip screws beyond repair. This guide walks you through every method professionals use, from heating plastic frames to loosening metal screws, so you can swap lenses confidently and avoid costly mistakes.
Identify Your Sunglass Frame Type First
Before you apply heat or grab any tools, you need to determine what kind of frame you’re working with. The removal method depends entirely on whether you’re dealing with plastic or metal, and understanding this upfront prevents the most common DIY failures.
Plastic vs. Metal Retention Systems
Plastic frames, especially classic styles like the Ray-Ban Wayfarer, use a snap-fit design. The acetate rim is slightly elastic when warmed, allowing the lens to pop in and out under controlled pressure. These are the most forgiving for home repairs.
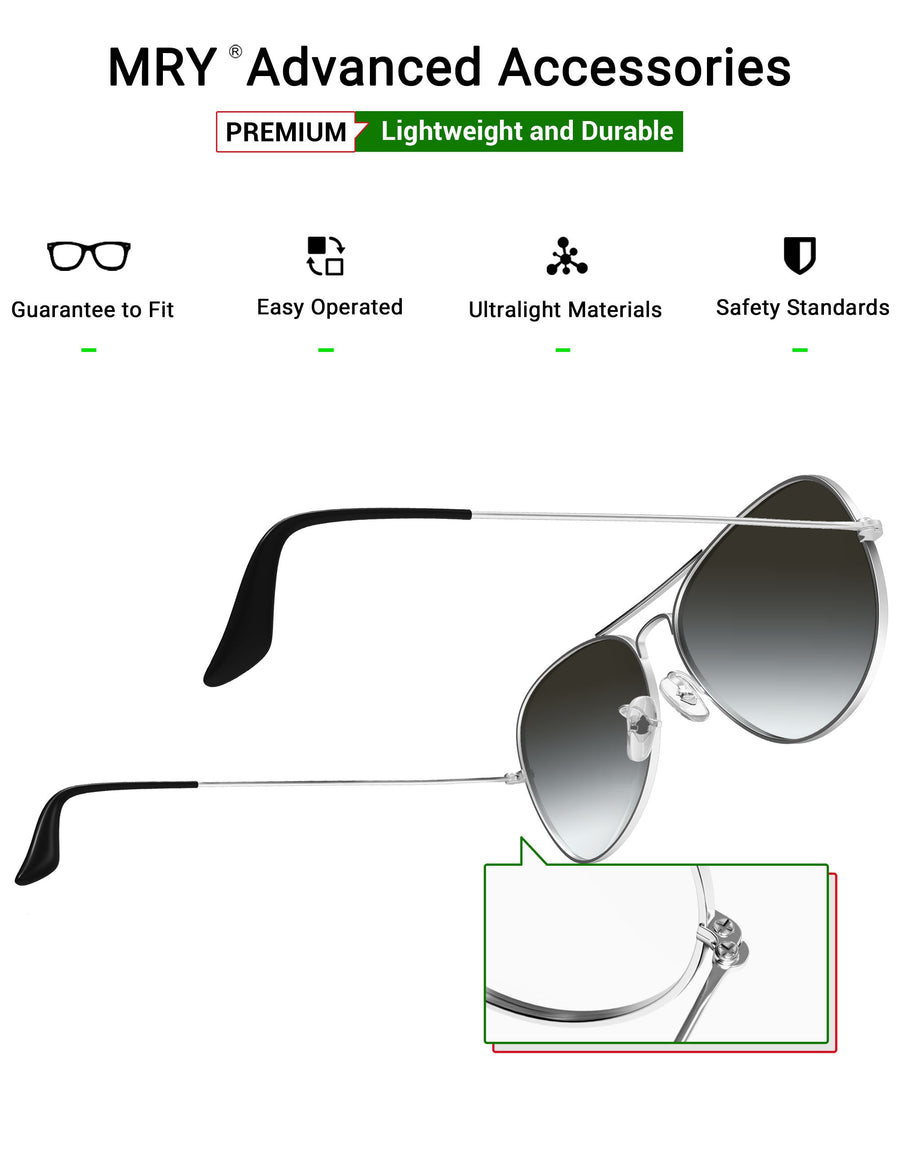
Metal frames like Ray-Ban Aviators rely on screws at the hinges or top rim to hold lenses in place. Some half-rim models use a thin nylon cord to secure the upper edge. These require precision tools and careful handling to avoid misalignment.
Quick Check: Look closely at the rim. If you see visible screws near the temples or bridge, it’s a metal frame. If the lens sits fully enclosed in a solid plastic border, it’s likely acetate.
Frame Models and What to Expect
The Ray-Ban RB2140 Wayfarer uses full-rim acetate with heat-and-snap removal. Ray-Ban Clubmaster has a plastic top rim with metal lower rim, requiring partial snap-in technique. Ray-Ban Aviators are metal frames with screw-secured lenses. Spy Logan sunglasses are designed specifically for tool-free lens changes. Persol 714 has a complex hinge system that is best left to professionals.
Matching the wrong method to your frame type is the number one cause of DIY failure. Never attempt snap-out techniques on metal frames.
Prepare Your Workspace and Tools
A clean, organized setup prevents lost screws, scratched lenses, and avoidable damage. Taking five minutes to prepare your workspace upfront saves hours of frustration later.
Essential Tools You Need
You will need a heat source such as a hairdryer or hot tap water between 130 and 150 degrees Fahrenheit. A precision screwdriver in size #00 or #0 handles metal frame screws. A microfiber cloth protects lenses and improves your grip. A soft work surface like a towel or foam pad prevents drops. Latex or nitrile gloves enhance grip on smooth lenses. A small container or magnetic tray holds screws securely so they don’t roll away.
Never use knives, scissors, or pliers. These tools scratch frames and crack lenses.
Pre-Work Frame Inspection
Examine the frame under bright light before doing anything. Check for hairline cracks, especially at the bottom corners. Ensure any screws are intact and not stripped. Confirm lenses aren’t already loose or misaligned. If the frame shows signs of stress, consider professional service, especially for vintage or designer pairs.
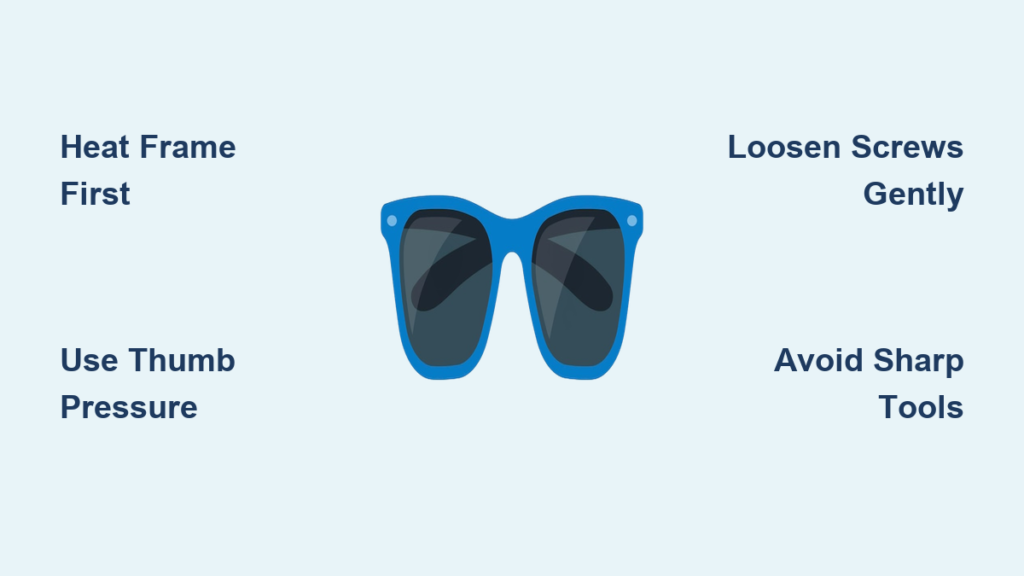
Heat Plastic Frames the Right Way
Acetate is a thermoplastic. It softens with heat and stiffens when cool. This property is what makes safe lens removal possible, but only if you do it correctly. Heat expands the frame slightly, reducing the grip on the lens, which is the key to safe removal. Cold acetate is brittle and prone to cracking under pressure.
Hot Water Method
Fill a bowl with the hottest tap water available. Do not boil it. Submerge the frame for 30 seconds. Test flexibility by gently pressing on the lens edge. If it still feels stiff, repeat in 30-second intervals up to 5 minutes total. Never use boiling water because it can warp or crack acetate permanently.
Hairdryer Method
Hold the dryer 2 to 6 inches from the frame. Rotate the sunglasses to heat all sides evenly. Focus on the bottom and temple edges, which are common tight spots. Heat for 30 to 45 seconds per side. Reheat as needed because acetate cools quickly. Work fast once heated.
Success sign: The frame feels slightly soft to the touch, not rigid.
Remove Lenses from Plastic Frames
Once warmed, use precise hand pressure to release the lens. No tools are required for most models. The goal is to let the material flex naturally, not to force anything.
Start at the Nasal Corner
The inner corner of the lens near the nose is typically the most flexible point. This is where you begin. Hold the frame steady with one hand. Use your thumb to push the back of the lens outward from the inside. Combine this with a downward pull on the frame rim. Add a slight twisting motion to disengage the edge.
Work Around the Perimeter
Once the first edge pops free, guide the lens out smoothly. Continue flexing the frame as you ease the lens out. Avoid jerking or forcing. Let the material flex naturally. The lens should exit with a soft pop or click. If you hear cracking sounds or see stress marks, stop immediately and reheat.
Handle Stubborn Lenses
If the lens won’t budge after trying, reheat for another 30 seconds. Try applying pressure at a different corner. Use soft-tipped tweezers or a lens removal tool as a last resort. Never force it. Repeated heating cycles are safer than brute strength.
Remove Lenses from Metal Frames
Metal frames require screw adjustment rather than heat. Mishandling can lead to misalignment or lost parts. This process is different from plastic frame removal, so pay close attention.
Locate and Loosen Screws
Find screws at the hinges where the temple connects to the frame, at the top rim in half-rim designs, or under decorative caps that you can gently pry open if needed. Use a #00 or #0 precision screwdriver. Turn counterclockwise just enough to open the rim. Do not remove screws completely because this risks loss and alignment issues. Store screws in a magnetic tray or small container.
Release the Lens
For full-rim metal frames, the rim will flex outward slightly when screws are loosened. Slide the lens out carefully. For half-rim frames, the nylon cord or wire releases from the top. Gently lower the lens out from the bottom. Avoid dragging the lens across sharp metal edges because this can scratch coatings.
Re-Tighten After Removal
If you’re reusing the frame, tighten screws back to original tension to maintain shape. This prevents the frame from becoming misaligned over time.
Install New Lenses Correctly

Replacement isn’t complete until the new lens is securely seated. Follow these steps to ensure a proper fit that lasts.
Reheat the Frame
Apply heat for 30 to 45 seconds to make the rim pliable. Cold frames won’t accept lenses easily. This step is essential for plastic frames.
Align and Insert Properly
Match the orientation correctly. For Ray-Ban Wayfarer, insert the logo side first, facing the bridge. Slide the temple side of the lens into the groove first. Press the bridge side in next. Finish by pinching the bottom corner into place.
Listen for the snap. A distinct click means the lens is fully seated.
Fix Stubborn Corners
If a corner resists, reapply heat to the tight area. Use firm, steady pressure with your thumb. Never twist or pry because this can crack the frame.
Avoid Critical Mistakes That Ruin Frames
Even small errors can destroy expensive frames. Here is what not to do when removing lenses from sunglasses.
Never Force a Cold Frame
Cold acetate is brittle. Attempting removal without heat is the number one cause of cracked frames. Always heat plastic frames before attempting removal.
Do Not Use Sharp Tools
Knives, scissors, or flathead screwdrivers can scratch lens coatings, chip frame grooves, and cause irreversible cracks. Use only your fingers or soft-tipped tools.
Avoid Overheating
More heat is not better. Prolonged exposure exceeding 60 seconds or using boiling water can warp the frame permanently. Stick to the recommended 30 to 45 second intervals.
Do Not Remove Screws Completely
On metal frames, fully removing screws makes reassembly difficult and risks misalignment. Loosen just enough to open the rim, then stop.
Know When to Call a Professional
DIY works well for simple plastic frames, but not all sunglasses are user-serviceable. Knowing your limits saves money in the long run.
Best Candidates for DIY
Full-rim acetate frames like Wayfarer and Clubmaster are ideal for home repair. Non-prescription and non-vintage models work best. You need steady hands and patience to succeed.
Avoid DIY On These Frames
Metal frames should be left to experienced users. Half-rim or rimless designs are too complex. Vintage or designer sunglasses have irreplaceable value. Prescription or optical lenses require professional handling.
Professional service typically costs $20 to $60 per lens. This is worth it for high-value frames.
Where to Get Professional Help
Optical shops, eye-doctor offices, and authorized service centers like Ray-Ban Repair Centers can handle complex frame types safely.
Choose Compatible Replacement Lenses
Not all lenses fit all frames. Mismatches lead to poor fit, optical distortion, or frame damage.
Must-Match Specifications
You must match the model and size exactly, such as RB2140 size 50mm. The lens shape and curvature must be identical. The base curve must match the frame’s designed lens arc. Thickness typically ranges from 1.2 to 1.5mm for acetate frames. The retention type must match, whether snap-in, screw-in, or cable-wire.
Upgrade Options to Consider
Polarized lenses reduce glare from water, roads, and snow. Photochromic lenses auto-tint in sunlight. Mirror-coated lenses offer style and reduced light transmission. Gradient tint is darker at the top and lighter at the bottom, ideal for driving.
Reuse or Recycle Old Lenses Responsibly
What you do with removed lenses matters for both practicality and the environment.
Can You Reuse Old Lenses
Yes, if the new frame has identical size, shape, and base curve. The lens must be undamaged with coatings intact. The retention system must match.
Recycle Responsibly
Sunglasses contain mixed materials that require separation. Recycle plastic frames as #7 plastic. Separate metal parts by type. Lens materials like polycarbonate or glass need specific local recycling facilities.
Frequently Asked Questions About Removing Sunglass Lenses
Can I remove lenses from any sunglasses at home?
Not all sunglasses are suitable for DIY removal. Full-rim acetate plastic frames like Ray-Ban Wayfarers can be safely modified at home. Metal frames, half-rim designs, rimless styles, and vintage or prescription sunglasses require professional service to avoid damage.
What happens if I don’t heat plastic frames before removing lenses?
Cold acetate is brittle and will crack under pressure. Applying heat softens the material so it flexes instead of breaking. Skipping this step is the most common cause of frame damage during lens removal.
How do I know if my sunglasses have screw-secured lenses?
Look for screws at the hinges where the temples meet the frame, or at the top rim in half-rim designs. Metal frames almost always use screws. If you see screws, use the screwdriver method rather than heat and snap techniques.
Can I reuse my old lenses in different frames?
Only if the new frame has identical size, shape, base curve, and retention type. Even slight differences in curvature cause poor fit and optical distortion. Consult an optician before transferring lenses between frames.
Will removing lenses void my warranty?
Yes, most manufacturers void the warranty if lenses are removed or replaced by the user. This includes Ray-Ban, Oakley, Persol, and other premium brands. Check warranty terms before attempting any DIY modification.
Key Takeaways for Removing Sunglass Lenses Successfully
The most important thing to remember is that plastic frames require heat while metal frames require screws. Never attempt to remove lenses from cold acetate because it will crack. Apply heat for 30 to 45 seconds using a hairdryer or hot tap water between 130 and 150 degrees Fahrenheit. Start at the nasal corner and use gentle thumb pressure combined with a slight twisting motion. Listen for the soft pop or click that confirms successful removal. Avoid sharp tools, boiling water, and forcing stubborn lenses. For metal frames, loosen screws counterclockwise just enough to open the rim without removing them completely. DIY lens removal works best on full-rim acetate frames like Wayfarers and Clubmasters. Leave metal, vintage, prescription, or designer sunglasses to professional opticians. With patience, the right temperature, and steady hands, you can give your favorite sunglasses a new lens and extend their life significantly.


