
That sinking feeling when your ski goggles suddenly leak snow during a powder run? More often than not, crumbling foam is the culprit. When your goggle foam turns sticky, disintegrates into powder, or loses its seal against your face, it’s not just annoying—it compromises safety and performance. The good news: how to fix ski goggle foam is a manageable DIY project that costs under $20 and takes just a few hours. Forget replacing expensive goggles when the lenses are still perfect. With precise material selection and adhesive techniques, you can revive your favorite pair for multiple seasons. This guide reveals the exact repair process used by ski technicians, including critical pitfalls that cause 90% of DIY failures.
Why Ski Goggle Foam Fails Even in “New” Equipment
Foam degradation isn’t just about age—your goggles could fail after two seasons if stored improperly. High humidity in goggle bags, temperature swings from cold slopes to warm cars, and UV exposure all accelerate breakdown. Most skiers don’t realize that even “new old stock” goggles over 5 years old often have compromised foam due to natural organic material decay. The thin edge foam deteriorates first, showing as:
- Visible crumbling when touched near the nose bridge
- Sticky residue transferring to your face
- Gaps between foam and frame where light leaks through
- Loss of compression (foam no longer springs back when pressed)
Don’t waste time on temporary fixes like duct tape. If your foam shows these symptoms, a full replacement is the only permanent solution. Ignoring it leads to icy drafts, fogged lenses, and painful pressure points on long days.
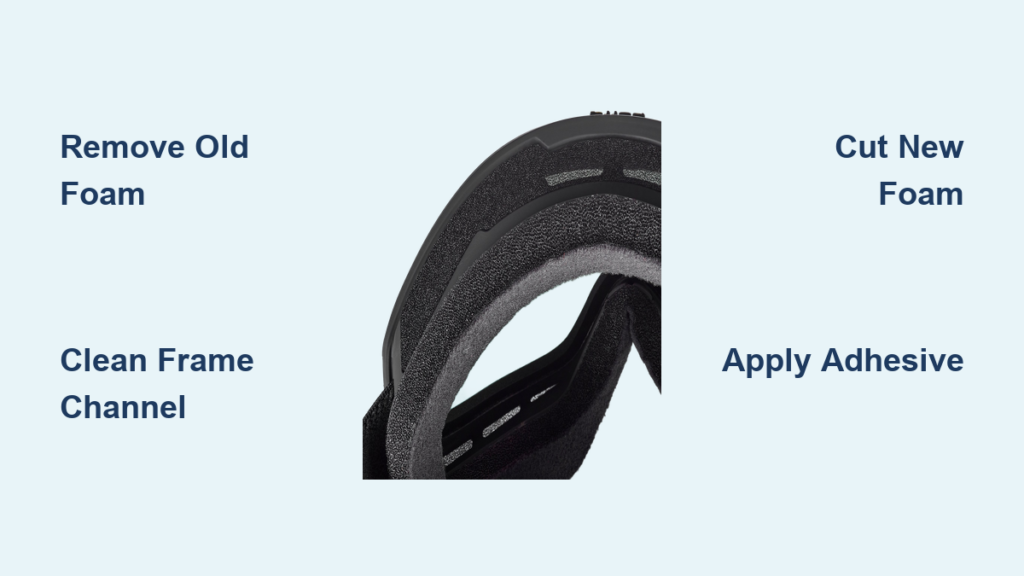
Removing Degraded Foam Without Damaging Your Frame
Avoid These Frame-Scratching Mistakes
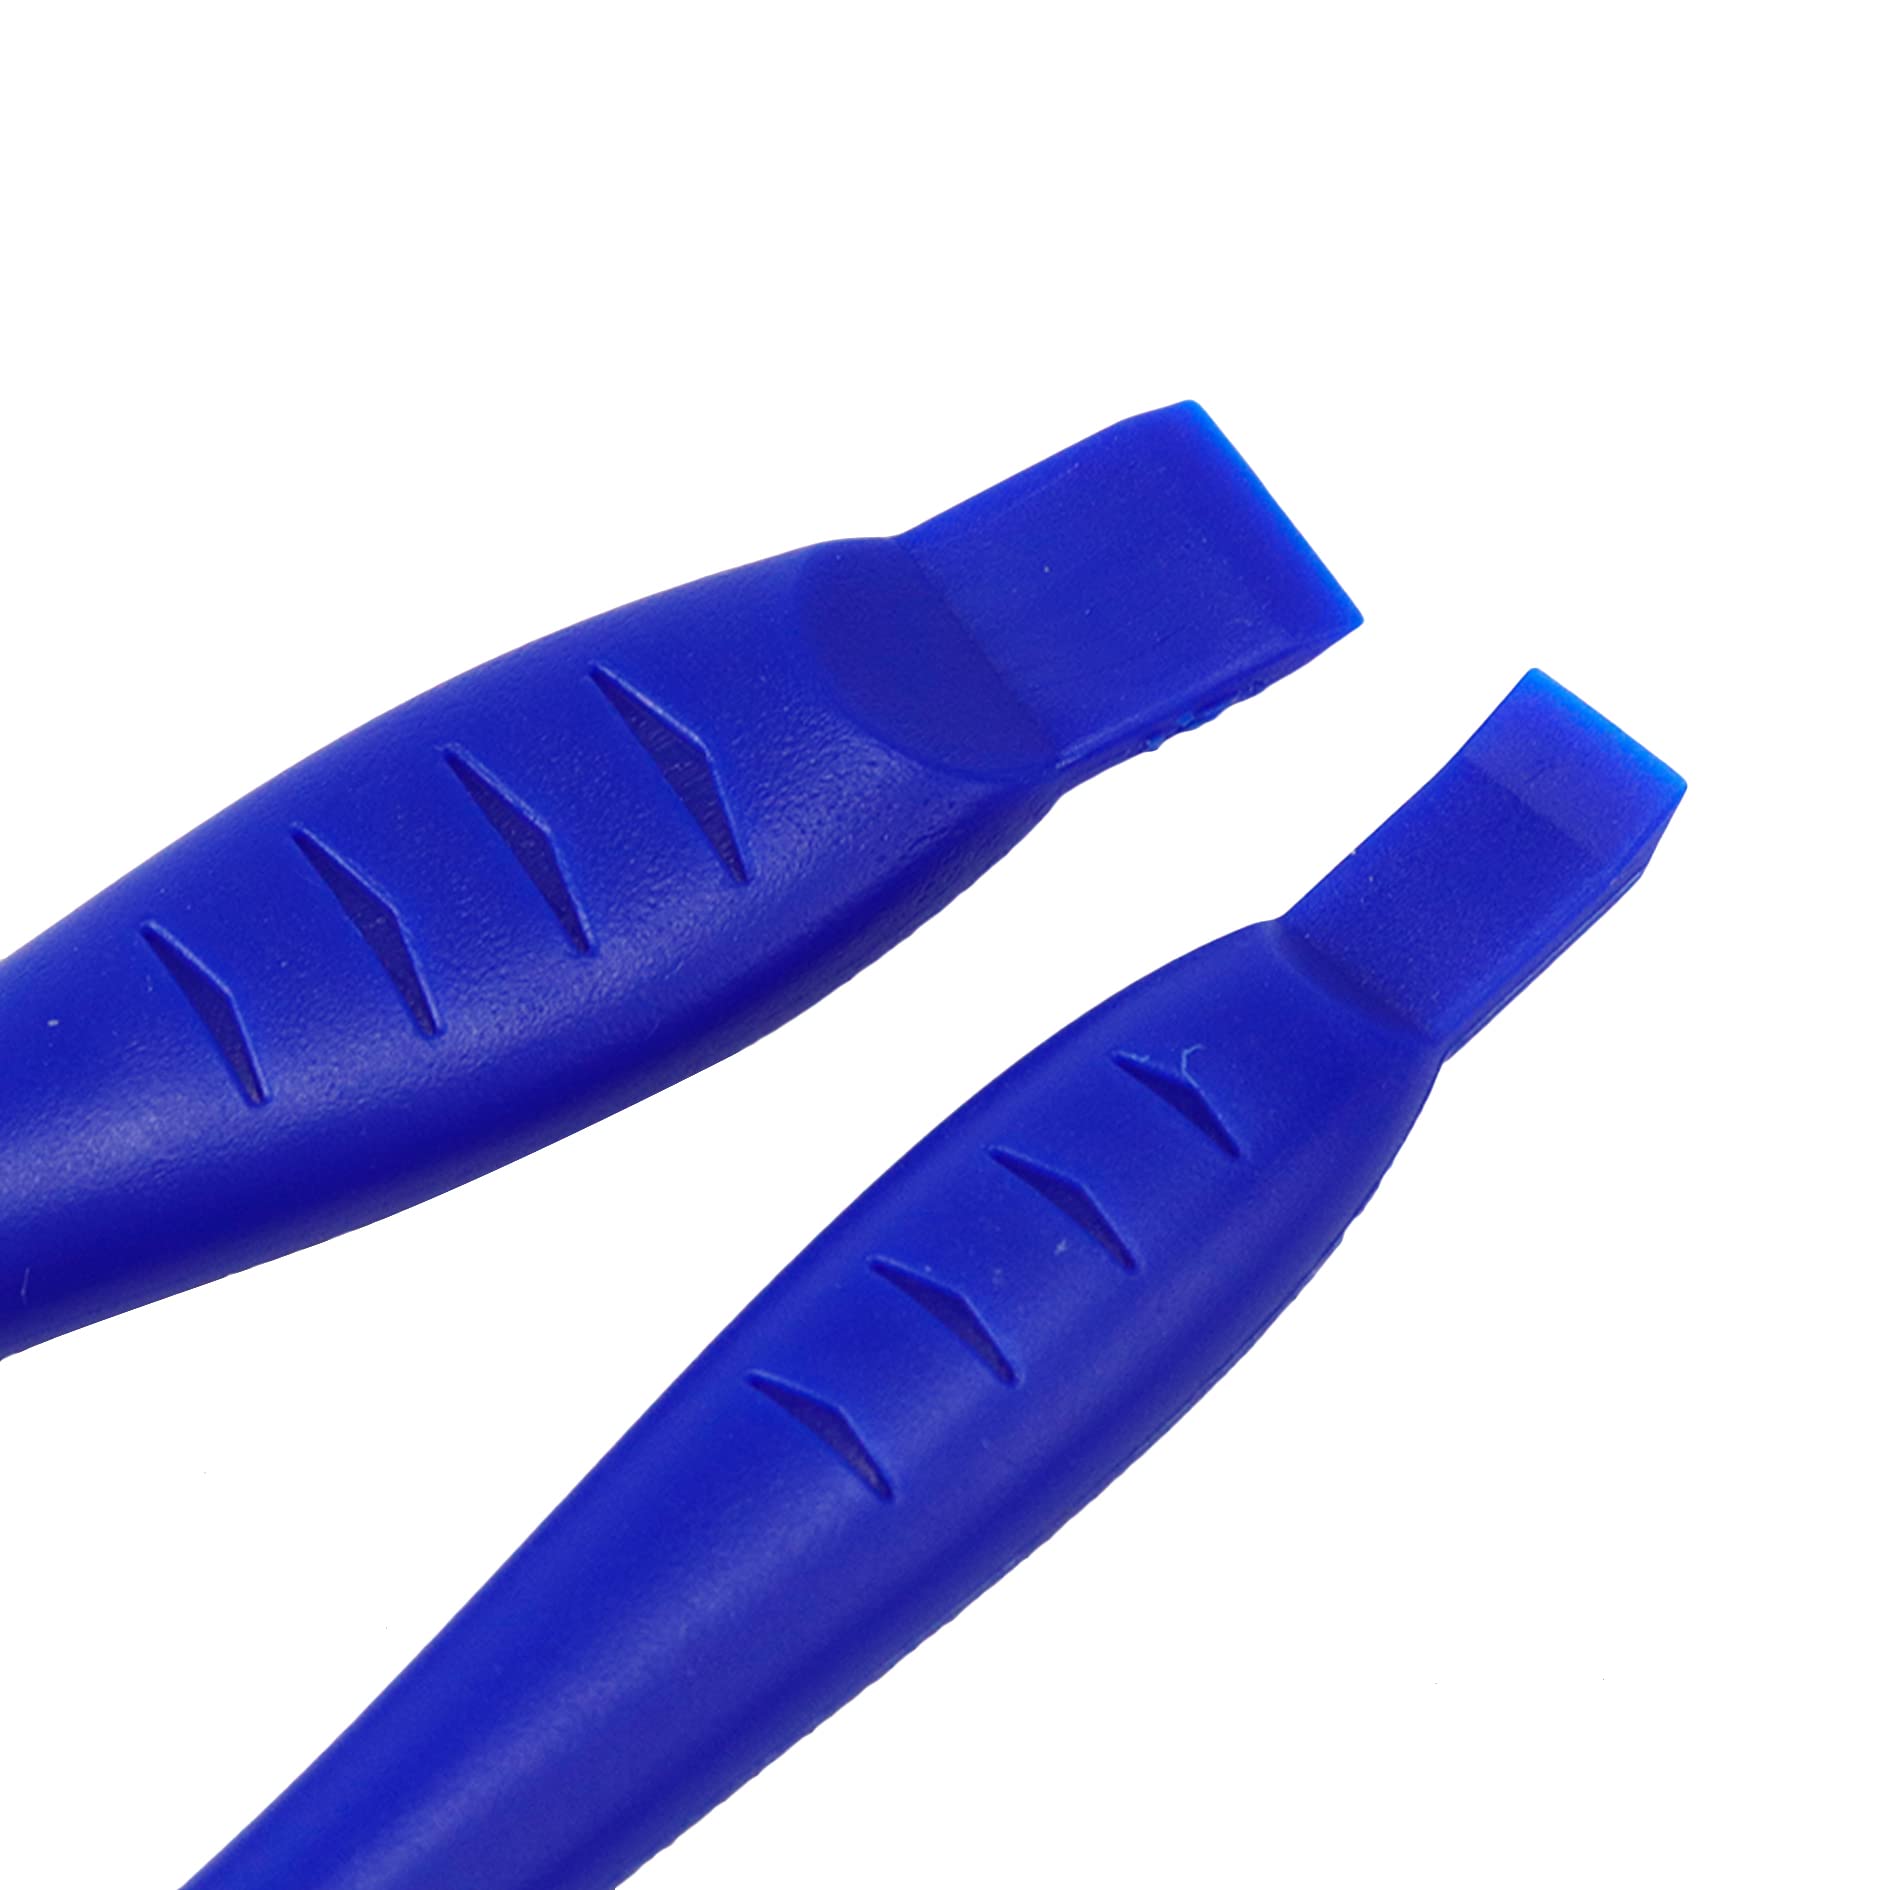
Using metal tools is the #1 cause of irreversible goggle damage during foam removal. Plastic spudgers from electronics repair kits work perfectly—they’re flexible enough to slide under foam without marring plastic. Start at the nose bridge (where foam usually fails first) and gently lift edges with upward motions. If residue sticks stubbornly:
- Apply isopropyl alcohol with cotton swabs to soften adhesive
- Wait 2 minutes for penetration before scraping
- Use plastic credit card edge for broad areas
- Switch to toothpick for curved channels near lenses
Critical warning: Never use acetone or nail polish remover—these melt polycarbonate frames. If you see white streaks during removal, you’re applying too much pressure. Stop immediately and reapply alcohol.
Complete Frame Cleaning Checklist
Leftover adhesive residue guarantees repair failure. After foam removal, inspect the channel with a flashlight. Use this sequence:
- First pass: Lint-free microfiber cloth dampened with 90%+ isopropyl alcohol
- Second pass: Cotton swabs dipped in alcohol for channel corners
- Final inspection: Hold frame against light—any haze means re-clean
- Drying time: Minimum 10 minutes in well-ventilated area
Skip this step and your new foam will peel within weeks. Proper cleaning takes 15 minutes but doubles repair longevity.
Choosing Foam That Won’t Fail After One Season

Thickness Matters More Than You Think
Most DIYers choose foam that’s too thick, causing goggles to sit away from your face. Measure your goggle channel depth with calipers—most require 1.5mm-2mm foam. For reference:
| Goggle Type | Ideal Foam Thickness | Best Material |
|---|---|---|
| Adult performance goggles | 1.5-2mm | Adhesive-backed neoprene |
| Youth/junior goggles | 1-1.5mm | Camera mirror foam |
| Budget foamies | 2-3mm | Weatherstripping |
Hardware store weatherstripping often seems ideal but fails within months because it’s too dense. Pro tip: Test foam resilience by pinching it—if it doesn’t spring back instantly, skip it. The $8 neoprene sheet from Amazon (search “1/16 inch adhesive foam sheet”) outperforms generic weatherstripping every time.
Selecting Adhesives That Withstand Extreme Conditions
Why Super Glue Ruins Goggle Repairs
Cyanoacrylate (super glue) creates brittle bonds that crack when foam flexes against your face. Instead, use these proven options:
- 3M Super 77 Spray Adhesive: Best overall (apply with cotton swab for precision)
- McNett Seam Grip: Flexible urethane for cold-weather durability
- Barge All-Purpose Cement: Professional-grade for humid climates
Application secret: Spray adhesive into a disposable cup first—never spray directly onto goggles. Then apply with cotton swab in thin, even strokes. Too much adhesive causes foam saturation and weak bonds. Wait exactly 5 minutes until tacky (not wet) before positioning foam.
Cutting Foam for Perfect Curves Without Gaps

Template Method for Complex Shapes
Don’t eyeball the fit—use your old foam as a template even if crumbling:
- Preserve fragments: Tape large pieces to parchment paper
- Trace contours: Use fine-tip marker along foam edge
- Add 1mm allowance: Cut new foam slightly oversized
- Dry fit test: Compress foam into channel—should require firm pressure
For nose bridges, cut relief slits every 5mm to prevent buckling. If foam gaps appear at temples, your piece is too short—add 2mm and retest. This step takes 20 minutes but prevents 95% of seal failures.
Critical Adhesive Application Sequence for Permanent Bonds
The 3-Step Placement Process
One chance to position foam correctly—follow this sequence:
- Apply adhesive: Thin coat to frame channel only (not foam yet)
- Wait 3 minutes: Let adhesive become tacky
- Position foam: Start at nose bridge, press into place with finger pressure
Mistake to avoid: Pressing too hard creates adhesive bleed-through that blocks vent channels. Use just enough pressure to seat foam—no more than 2 pounds per square inch. For curved areas, work in 1-inch sections with immediate smoothing.
Curing Techniques That Prevent Edge Lifting
Why 24 Hours Isn’t Enough
Most tutorials say “let dry overnight,” but full bond strength requires:
- First 4 hours: Undisturbed in 70°F/21°C room (no humidity)
- Next 20 hours: Weighted with soft cloth (1lb weight)
- Full cure: 72 hours before ski use
Pro technique: Place goggles face-down on foam block with light weight on frame. This maintains compression without lens pressure. Rush curing and you’ll get edge separation within days.
Testing Your Repair Before Hitting the Slopes
The Vacuum Seal Check
Don’t wait for mountain conditions to test:
- Press goggles to face: Should create instant suction
- Inhale gently: Eyes should feel slight pressure
- Tilt head forward: No slippage when blinking
- Run warm water: Check for leaks around edges
If leaks occur, reposition foam immediately—adhesive remains repositionable for 10 minutes after placement. After 24 hours, you’ll need to redo the section.
Maintenance That Doubles Foam Lifespan
Storage Secrets From Pro Ski Techs
Even perfect repairs fail prematurely with bad storage:
- Never store compressed: Use hard case with foam spacer
- Avoid car gloveboxes: Temperature swings destroy foam
- Post-ride routine: Air-dry for 2 hours before storing
- Seasonal refresh: Apply silicone-free moisturizer to foam monthly
Replace foam every 3 seasons preventatively—even high-quality repairs degrade from UV exposure. Keep spare foam sheets on hand for quick fixes.
When Repair Isn’t Worth the Effort
Cost-Benefit Decision Guide
For goggles under $50 or with scratched lenses, replacement makes sense. But if your goggles have:
- Specialized lenses (mirrored, photochromic)
- Perfect facial fit (rare for unique face shapes)
- Discontinued models (like Oakley Airbrake legacy)
…then repairing foam saves $150+. If frame channels are cracked or lenses delaminating, skip repair—structural issues will worsen.
Restoring your ski goggle foam isn’t just about saving money—it’s about preserving gear that fits your face perfectly. By following these precise material selections and adhesive techniques, you’ll achieve a factory-quality seal that lasts seasons. The key is meticulous frame preparation and respecting cure times—90% of failed DIY repairs skip these steps. For immediate use, keep spare adhesive-backed foam sheets in your ski bag to patch small tears on the mountain. Remember: proper storage after repair determines longevity more than the repair itself. Now that your goggles are leak-proof, maximize your investment with our guide to extending ski goggle lens life for crystal-clear visibility all season.


