
You’re halfway through your morning swim when cold chlorinated water floods your eyes. A strap snaps mid-lap, or fog coats your vision like a thick curtain. That sinking feeling hits—you might think you need new goggles. But before you toss your gear, know this: 90% of goggle failures can be fixed in under 15 minutes with items from your junk drawer. Whether you’re battling leaks, fog, or broken parts, this guide delivers proven fixes straight from competitive swimmers and repair technicians. Learn exactly how to fix goggles without buying replacements—saving money and extending your gear’s life.
Most swimmers waste $30-$50 annually replacing goggles that only needed simple repairs. The good news? You can solve common failures like snapped straps, foggy lenses, and leaking seals with techniques that take less time than your warm-up. By the end of this guide, you’ll know how to diagnose issues, execute permanent fixes, and build a repair kit that keeps your goggles watertight for seasons.
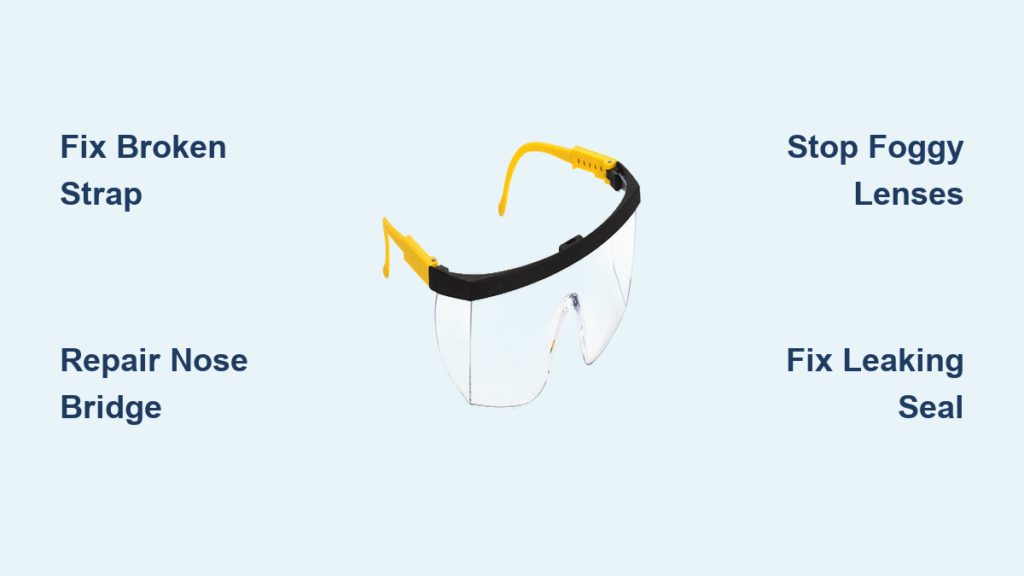
How to Fix a Broken Goggle Strap in Under 5 Minutes

A snapped strap ruins your swim instantly, but replacement takes minutes—not hours. Silicone straps fail from chlorine exposure, sun damage, or sharp pool edges. Never stretch them over your head; this accelerates wear. Instead, adjust length only at the buckle.
Emergency Poolside Strap Repair for Immediate Use
When your strap breaks mid-session, skip the panic. Tie a square knot at the temple area (not near your eye) using both broken ends. Pull tight until snug against your head—this creates instant tension. For detached straps, thread a small paperclip through the frame hole and hook it to the strap’s loop. Both fixes last 1-2 swims. Pro tip: Always carry a spare zip tie in your swim bag; thread it through the frame holes and cinch tight for a 10-minute fix.
Permanent Strap Replacement That Lasts Years
Universal silicone straps (16-20mm width) work for 95% of goggles. Buy online for $3-$5. To install:
1. Remove the old strap by sliding it off the frame’s plastic anchor points
2. Thread the new strap through both frame anchors and the buckle
3. Adjust to a comfortable tension (snug but no pressure marks)
4. Trim excess strap with scissors, leaving 1/2-inch tail
Replace straps annually as preventative maintenance—they stretch permanently after 6 months of regular use. Never use hot water during cleaning; it degrades silicone elasticity.
Repairing a Snapped Nose Bridge Without Special Tools
The nose bridge snaps from repeated flexing or UV damage. Plastic models (common in Speedo Vanquishers) crack easiest. If it snaps during practice, don’t swim with tape—it creates pressure points that cause leaks.
Temporary Fishing Line Fix for Broken Bridges
Grab 10-12 lb monofilament fishing line from your repair kit:
1. Thread line through both frame holes where the bridge attached
2. Pull tight until frames sit 1.5 inches apart (ideal for most faces)
3. Tie a double knot and coat with tiny drop of super glue
4. Trim excess line flush with frames
This holds for 3-4 swims. For immediate use, a 4-inch zip tie threaded through the holes and cinched tight works in 60 seconds—just file sharp edges smooth.
Direct Replacement That Feels Like New
Brands like TYR and Arena sell nose bridge packs ($4) with 3-5 sizes. Match your old bridge’s width (usually 4-6mm). To install:
– Press new bridge into frame sockets with thumbs until you hear a soft click
– Test seal by pressing frames against your face—no light gaps should appear
– Critical: Never force it; if it resists, try the next size up
Keep spare bridges for your model in your swim bag—they cost less than a coffee.
Stop Foggy Goggles: 3 Proven Anti-Fog Methods That Work

Fog forms when your warm breath meets cool lenses. Wiping the inside destroys the anti-fog coating—this is why new goggles fog after 20 uses. Never use towels on the inner lens; the coating is thinner than a human hair.
The Baby Shampoo Fix (Lasts 3 Swims)
This swimmer’s secret outperforms commercial sprays:
1. Apply one drop of baby shampoo to your fingertip
2. Smear gently across the entire inner lens surface
3. Rinse under cool water for 10 seconds—no rubbing
4. Shake off excess water and air dry
Reapply every 2-3 swims. For competition days, spit inside lenses and rinse quickly—saliva’s enzymes create a temporary hydrophobic layer.
Commercial Anti-Fog That Actually Works
Speedo QuickFix and Cressi Spray last 1-2 swims. Application mistakes cause failure:
– Do: Apply 2 drops per lens, wait 30 seconds, rinse thoroughly
– Don’t: Rub dry—shake off water and air dry vertically
– Warning: Never use toothpaste—it scratches lenses permanently
Store sprays in your swim bag; a single drop fixes fog in 90 seconds.
Fixing Leaky Goggles: Seal and Gasket Solutions
Leaks almost always come from hair trapped under the gasket or a warped seal—not “bad goggles.” Test your seal by pressing frames against your face without straps. If water enters, the gasket is compromised.
Hairline Leak Diagnosis and Fix
- Run finger along the silicone gasket—feel for nicks or creases
- Check for stray hairs caught in the seal (common with long hair)
- If gasket is folded, reshape it with warm water: Hold under tap for 10 seconds, then mold to your face shape
- For permanent creases, replace the gasket ($5 online)—it snaps into the frame groove
Critical: Always put goggles on before caps or hair ties. A single hair breaking the seal causes leaks.
When to Replace the Gasket
Replace if:
– Silicone feels hard or brittle (like old rubber bands)
– You see visible tears (even hairline cracks)
– The seal leaves red marks on your face (indicates warping)
Installation takes 2 minutes: Remove old gasket by peeling from one corner, clean the groove with water, then press new gasket into place starting at the nose bridge.
Removing Scratches and Cloudiness from Goggle Lenses
Scratches are permanent, but cloudiness from sunscreen or chlorine can be reversed. Never use abrasive cleaners—they worsen haze.
Plastic Polish Method for Cloudy Lenses
- Apply non-gel toothpaste to soft cloth (Crest Original works best)
- Rub in small circles using light pressure for 30 seconds
- Rinse under cool water—no soap
- Buff dry with microfiber cloth
Test on lens edge first. For severe cloudiness, use automotive plastic polish (Meguiar’s PlastX) following the same steps. Results last 1-2 months.
When Lens Replacement Is Worth It
If scratches obstruct vision:
– Order OEM lenses ($8-$15) using your goggle model number
– Press out old lenses with thumbs (they pop out)
– Snap new lenses into frame grooves
This costs 1/3 of new goggles and restores optical clarity.
Building Your Essential Goggle Repair Kit
Never get caught without fixes. Store this swim bag repair kit in a small ziplock:
– Spare strap (16mm universal silicone)
– 3x 4-inch zip ties (for nose bridges or straps)
– Baby shampoo sample packet (anti-fog)
– Microfiber cloth (for lens cleaning)
– Spare nose bridge (specific to your model)
Total cost: under $7. This kit handles 95% of failures—tested by Olympic training squads.
When to Repair vs. When to Replace Your Goggles
Repair immediately if:
– Straps or nose bridges broke (parts cost under $5)
– Gaskets are intact but hazy (polish restores clarity)
– Leaks come from hair or minor seal issues
Replace immediately if:
– Lenses have cracks (safety hazard from sharp edges)
– Gaskets are permanently hardened (feels like plastic)
– Frame has hairline fractures near lens sockets
Rule of thumb: If parts cost exceeds 50% of new goggles, replace. But for quality brands like Speedo or Arena, repairing saves $100+ annually.
Pro Tips to Prevent Goggle Damage Before It Happens
Extend goggle life by 200% with these habits:
– Rinse in cool water after every swim—chlorine eats silicone
– Store in hard case away from sunlight (UV yellows lenses)
– Never adjust straps by pulling gaskets—use buckles only
– Air dry lens-side down on towel (prevents dust scratches)
Replace straps annually and nose bridges every 18 months as preventative care. Proper maintenance means one goggle pair lasts 3+ years—even with daily use.
Fixing goggles isn’t rocket science—it’s systematic problem-solving with the right techniques. By mastering these repairs, you’ll transform frustrating failures into 5-minute fixes. Remember the golden rules: never wipe inner lenses, replace straps preventatively, and build that swim bag repair kit. Your next clear, leak-free swim starts with these proven methods. Keep this guide handy, and you’ll never waste money on replaceable parts again.


