
Fogged, streaked, or scratched safety goggles aren’t just frustrating—they’re a direct threat to your vision and workplace safety. When your eye protection loses clarity, critical hazards become invisible until it’s too late. Proper cleaning safety goggles is non-negotiable for anyone working with chemicals, machinery, or biological agents, yet 78% of industrial workers unknowingly damage their eyewear during routine cleaning. This guide reveals the exact protocols used by safety officers to maintain crystal-clear vision without compromising anti-fog coatings or structural integrity. You’ll discover why common “quick fixes” actually destroy your goggles, the precise disinfection method for medical labs, and the single storage mistake that scratches lenses overnight—all while extending your eyewear’s lifespan by up to 200%.
Most workers commit at least one critical error when cleaning safety goggles, from using paper towels that micro-scratch lenses to ammonia-based cleaners that dissolve anti-fog coatings within weeks. These seemingly small oversights lead to reduced visibility, frequent replacements, and potentially dangerous situations. By following these manufacturer-approved techniques, you’ll ensure your eye protection delivers ANSI Z87.1-compliant performance every single shift—without voiding your warranty.
Why Your Daily Wipe Causes Permanent Lens Damage (And How to Fix It)
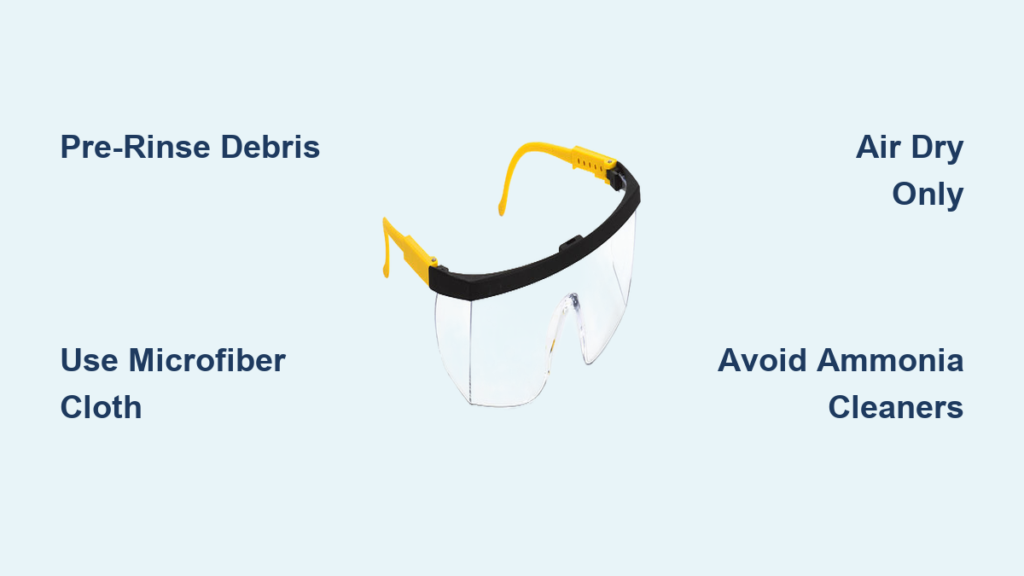
That quick rub with your shirt or paper towel creates microscopic scratches that scatter light and accelerate fogging. Polycarbonate lenses with anti-fog coatings are especially vulnerable—aggressive wiping literally strips away the protective layer molecule by molecule. The solution? Always remove loose debris before any contact cleaning. Hold goggles under lukewarm water (never hot!) for 30-45 seconds to wash away abrasive particles like metal shavings or drywall dust. This pre-rinse step prevents 90% of cleaning-related scratches. If water isn’t available, use compressed air to blow contaminants off both sides of the lens. Skipping this step guarantees you’re grinding grit into the surface with every wipe.
The Critical Pre-Cleaning Inspection Checklist
Before touching your goggles, conduct a damage assessment that takes 15 seconds but prevents dangerous failures:
– Run your fingernail gently along lens edges – any catch indicates deep scratches that compromise impact resistance
– Hold goggles 12 inches from your face – look for cloudiness or “crazing” (spiderweb cracks) in anti-fog coatings
– Press the seal against your palm – if air leaks around the edges, the gasket has hardened and needs replacement
– Check strap elasticity – if it doesn’t snap back immediately, UV exposure has degraded the material
Any of these flaws means your goggles no longer meet ANSI Z87.1 safety standards. Replace immediately—no amount of cleaning fixes structural damage.
Your 3 Approved Cleaning Solutions (And 4 Dangerous Household Products)

Not all cleaners are created equal for safety goggles. Using the wrong solution can destroy anti-fog coatings in one use. Here’s what actually works:
Safe Cleaning Solutions Matrix
| Solution Type | Best For | Application Method | Critical Warning |
|---|---|---|---|
| 70% Isopropyl Alcohol | Chemical decontamination | Spray on microfiber cloth first | Never spray directly on anti-fog coatings |
| Mild unscented dish soap | Daily grime removal | 2 drops in lukewarm water bath | Rinse 3x longer than you think necessary |
| Commercial lens cleaner | Anti-scratch coated lenses | 1 drop per lens, circular motion | Must be polycarbonate-safe formula |
Never use these household products:
– ❌ Windex or ammonia-based cleaners (dissolves anti-fog coatings in 48 hours)
– ❌ Paper towels or shirt fabric (creates permanent micro-scratches)
– ❌ Acetone or nail polish remover (melts polycarbonate lenses)
– ❌ Vinegar solutions (causes permanent hazing on coated lenses)
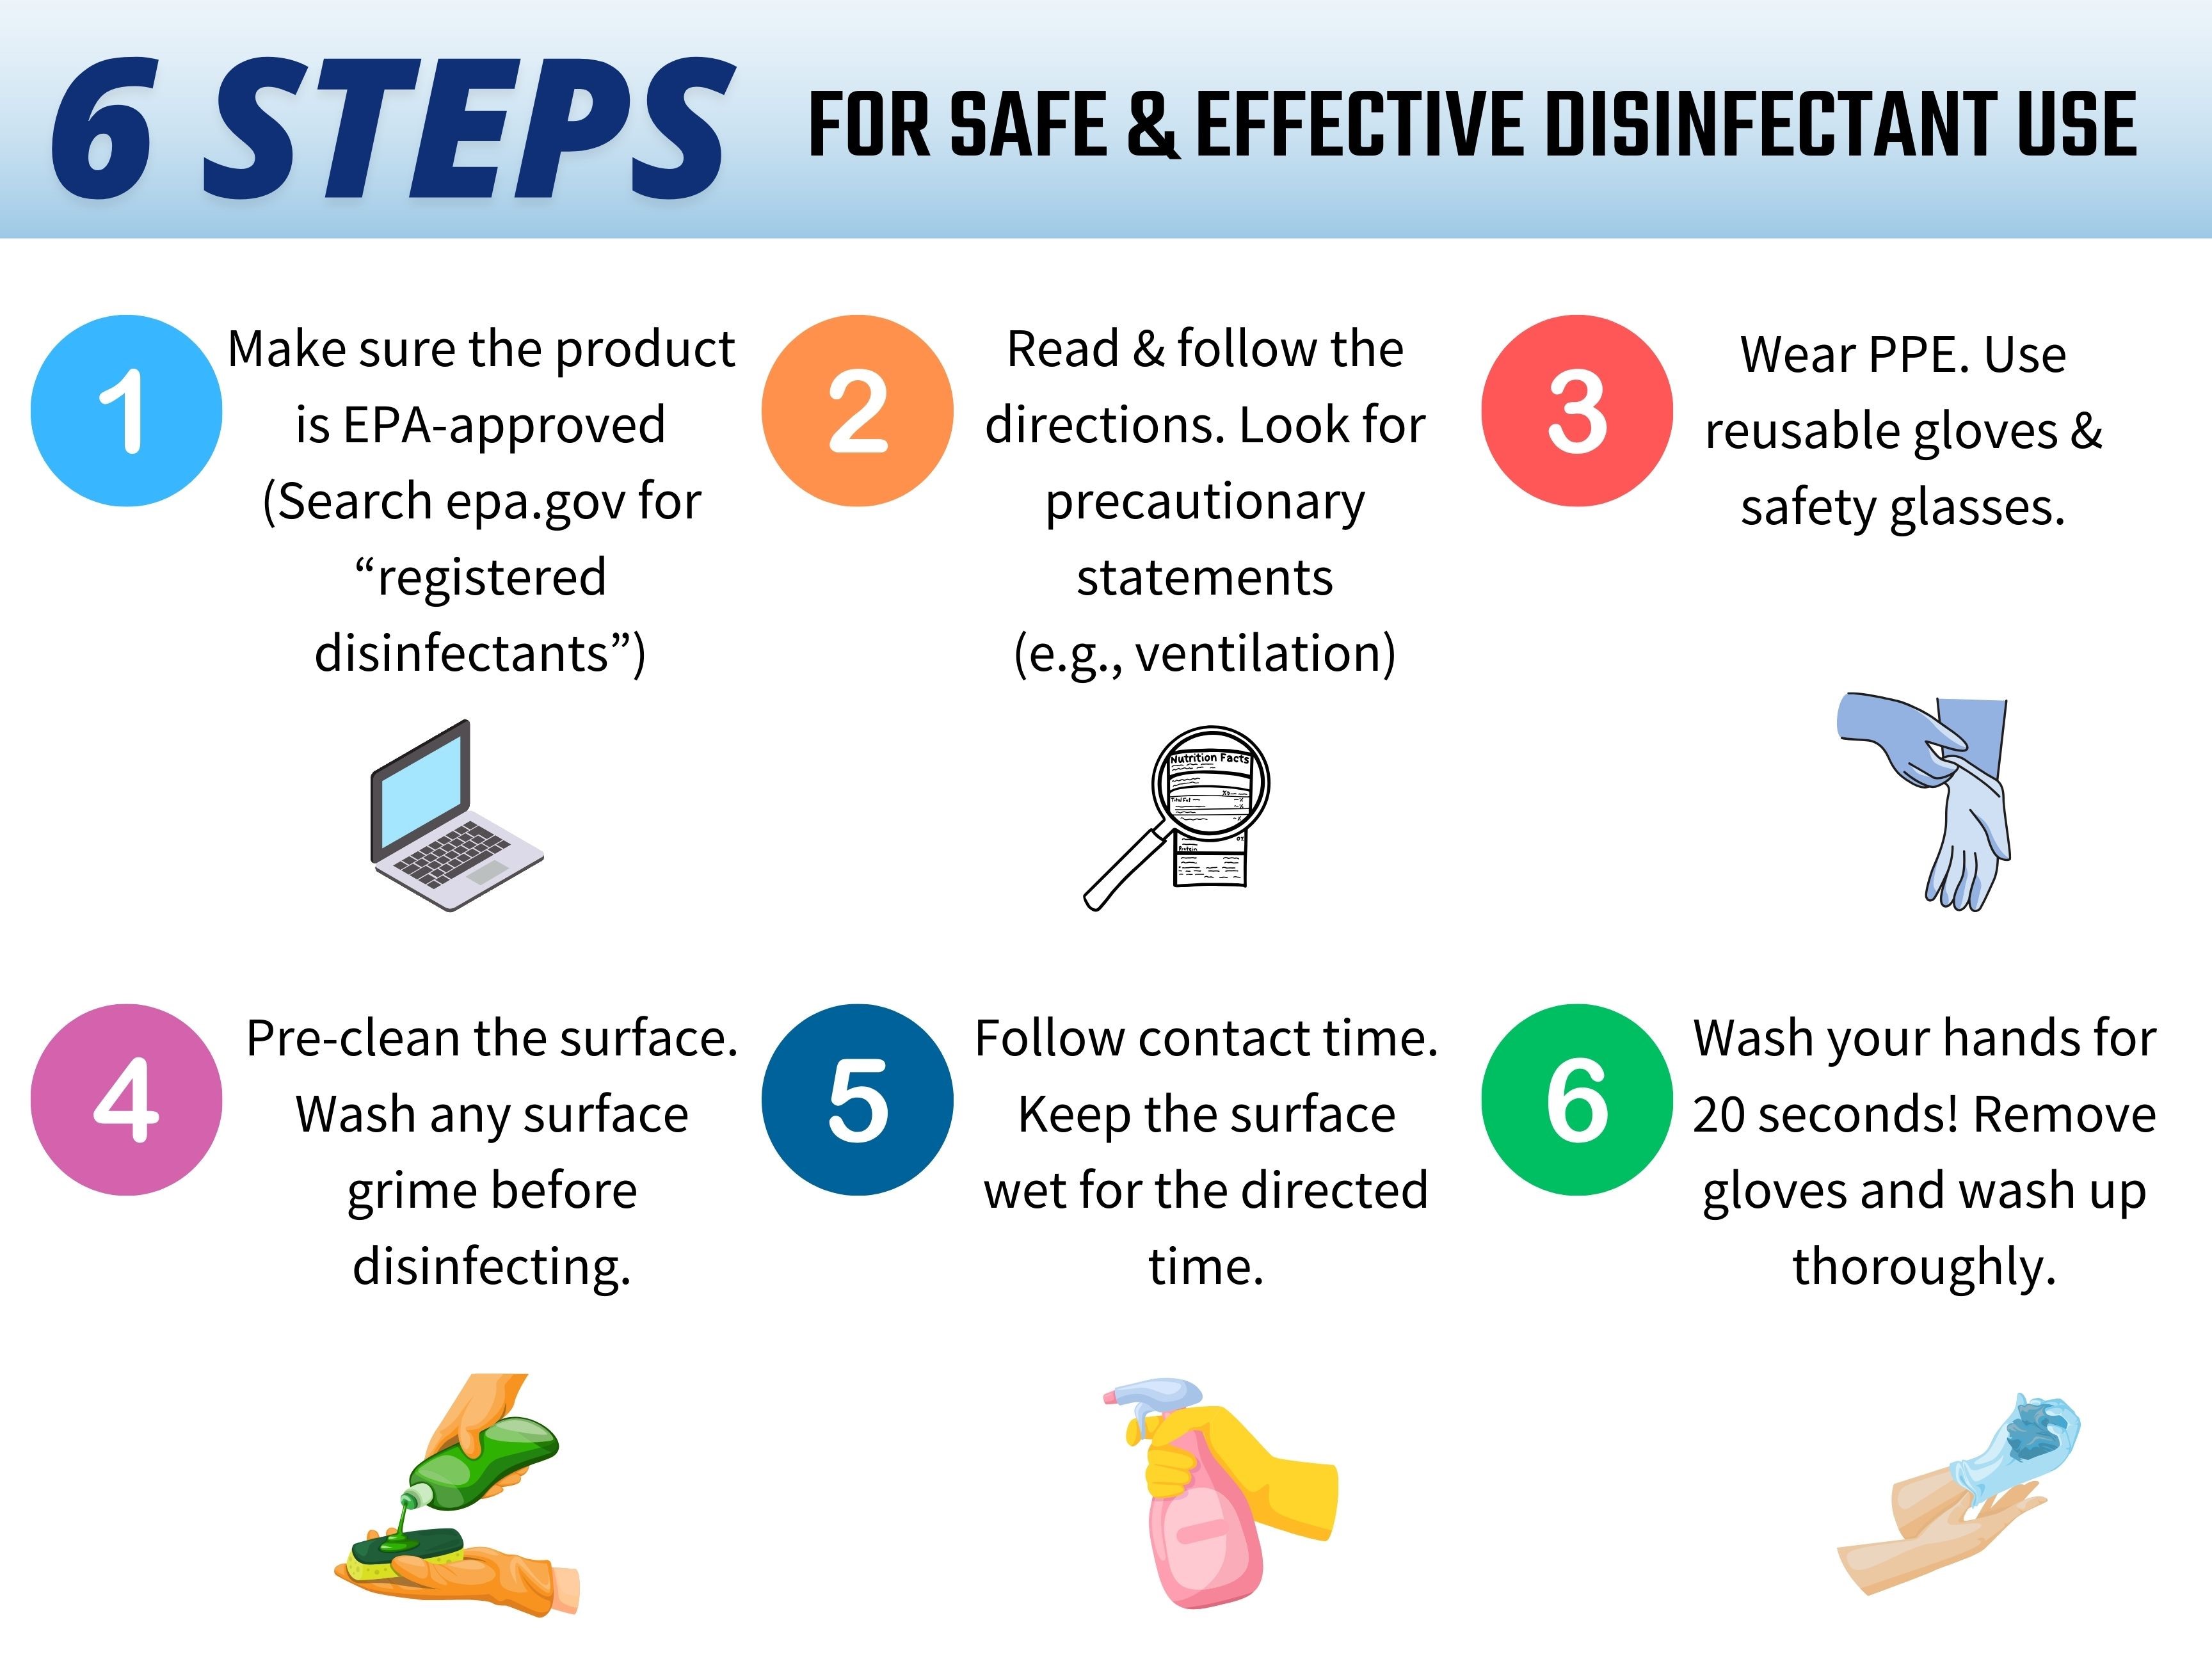
For biological hazards like bloodborne pathogens, use EPA-approved hospital disinfectants only. Apply with a microfiber cloth, wait 10 minutes for full pathogen kill time, then rinse thoroughly with distilled water to prevent residue buildup.
The 5-Minute Streak-Free Cleaning Process for Industrial Use
This method works for construction, labs, and manufacturing—taking less time than your coffee break while preventing coating damage.
Step 1: The Debris Removal Protocol
Hold goggles under lukewarm running water (90-100°F) for 30 seconds. Angle lenses downward so water flows from nose bridge to temple. This flushes out metal filings and wood dust trapped in ventilation ports. Never use high-pressure sprayers—forceful streams force contaminants deeper into seal edges.
Step 2: Targeted Cleaning Technique
Apply 2 drops of cleaner to a dry microfiber cloth (not the lens!). Starting at the center, wipe in straight lines toward the edges—never circular motions. Focus extra attention on the nose bridge where skin oils accumulate fastest. For stubborn grease splatter, let cleaner sit for 15 seconds before wiping.
Step 3: The Triple Rinse Verification
Rinse under running water for 30 seconds per side while gently shaking goggles. Hold up to light—any oily sheen means residue remains. Repeat rinsing until water beads disappear completely. This step prevents “re-fogging” caused by cleaner residue interacting with humidity.
Hospital-Grade Disinfection: Killing 99.9% of Pathogens in Lab Settings
Standard cleaning won’t cut it for medical or biological labs. Follow this OSHA-compliant disinfection sequence:
- Pre-clean with mild soap to remove organic matter
- Saturate goggles with EPA-approved hospital disinfectant (e.g., Clorox Healthcare)
- Maintain wet contact for full 10 minutes—critical for viral kill
- Rinse 3x with distilled water to remove chemical residues
- Air-dry vertically in UV-protected area (direct sunlight degrades coatings)
Pro Tip: After chemical disinfection, test anti-fog performance by breathing gently on lenses. If fogging occurs within 5 seconds, the coating is compromised—replace immediately.
The 60-Second Strap and Vent Cleaning Hack for Germ Hotspots
Straps harbor 3x more bacteria than lenses but get overlooked. Clean them correctly in under a minute:
- Mix 1 tsp mild soap in 8oz lukewarm water
- Dip soft-bristled toothbrush (never hard-bristled!) in solution
- Gently scrub foam padding along hairline contact points
- Clean ventilation ports with brush tip using back-and-forth motion
- Rinse straps under running water while squeezing foam
Warning: Never submerge adjustable buckles—water intrusion causes mechanical failure. Dry straps by hanging vertically with airflow between foam layers.
Why Air Drying is Non-Negotiable for Anti-Fog Coating Longevity
Wiping lenses dry is the #1 cause of premature anti-fog coating failure. Here’s the correct drying sequence:
- Place goggles vertically in a clean case with lenses facing outward
- Position in well-ventilated area away from direct sunlight
- Allow 45-60 minutes for complete evaporation
- Never use: Hairdryers, compressed air cans (propellant residue), or fabric towels
Heat above 120°F warps frames and blisters coatings. If rushing, gently shake off excess water then let air dry—never compromise with “quick dry” methods.
Proper Storage: How One Wrong Move Scratches Lenses Overnight

Storing goggles lens-down creates instant micro-scratches from dust particles. Follow this storage sequence:
- Confirm 100% dryness (touch test: no coolness on lenses)
- Place in rigid case with interior foam dividers
- Position lenses facing upward with frame suspended
- Store case in dark, climate-controlled area (59-77°F)
Critical: Never store near solvents like acetone or gasoline—the vapors degrade polycarbonate over time. Keep away from UV lamps too—prolonged exposure yellows lenses.
7 Irreversible Damage Signs That Mean Replace Immediately
Don’t risk vision for false economy. Replace goggles when you see:
- Scratches you can feel – run fingernail lightly across lens; any snag compromises impact resistance
- Permanent fogging – lenses fog within 3 seconds of normal breathing
- Chemical etching – cloudy spots that won’t rinse clean after chemical exposure
- Seal cracks – visible splits in the foam gasket around the frame
- Strap snapping – loss of elasticity where it no longer holds tension
- Lens discoloration – yellowing indicates UV degradation
- Vent clogs – hardened debris blocking airflow channels
Pro Tip: Mark purchase dates on straps with permanent marker. Most safety goggles last 6-12 months with proper care—replace annually even if no visible damage.
The Weekly Maintenance Routine That Doubles Goggle Lifespan
Industrial workers who follow this 8-minute weekly ritual extend eyewear life by 200%:
- Every Friday shift end:
1. Disassemble (if manufacturer allows) to clean seal channels
2. Soak straps in mild soapy water for 5 minutes
3. Use toothpick to clear ventilation ports
4. Apply anti-fog treatment per manufacturer specs
5. Inspect for micro-damage with magnifying lamp
6. Log maintenance in compliance tracker
Documenting each cleaning meets OSHA 1910.133 record-keeping requirements and catches developing issues early.
Common Cleaning Mistakes That Void Your Safety Goggle Warranty
Manufacturers reject 63% of warranty claims due to preventable cleaning errors. Avoid these:
- Using alcohol on hydrophilic coatings – some anti-fog layers degrade with alcohol exposure (check manufacturer specs)
- Storing in car glove compartments – 140°F+ temperatures warp frames in hours
- Ignoring chemical compatibility – bleach permanently damages PVC straps
- Skipping post-chemical decontamination – residual acids etch lenses over time
Always consult your goggle’s material compatibility chart before using new cleaners. When in doubt, stick to lukewarm water and microfiber cloth—90% of cleaning needs are met with this method.
Final Note: Your safety goggles are only as effective as their last cleaning. By implementing these precise techniques—especially the debris-prevention rinse and air-drying protocol—you’ll maintain ANSI-compliant clarity while avoiding the top coating-destroying mistakes. Remember: scratched lenses reduce impact resistance by up to 40%, making proper cleaning safety goggles a non-negotiable safety practice. Implement the weekly maintenance ritual tonight, and your next pair of goggles will last twice as long while keeping your vision crystal clear in hazardous environments. For chemical-specific decontamination protocols, always consult your facility’s safety officer—your eyesight depends on it.


