
That first icy gust slicing through a torn goggle seal isn’t just annoying—it’s a race-ending disaster. When your ski goggle foam rips or detaches, snow infiltrates your vision, windburn stings your skin, and expensive lenses fog uncontrollably. You’re desperate to repair foam on ski goggles before your next run, but here’s the brutal truth most guides won’t admit: 90% of DIY fixes fail within hours. The foam’s unique blend of flexibility, moisture resistance, and skin contact makes it nearly impossible to bond reliably with household supplies. Yet understanding why repairs fail—and when a temporary patch might work—is your best defense against wasted time and painful slopeside frustration. This guide cuts through the hype with field-tested reality checks and the only three solutions proven to restore a comfortable, snow-free seal.
Why Ski Goggle Foam Repairs Almost Always Fail

The Glue Trap: Why Your Adhesive Choices Backfire
Most users reach for super glue or craft glue first, only to create a worse problem. Foam’s porous structure sucks in liquid adhesives like a sponge, causing them to seep through and harden into skin-irritating ridges. One skier reported abandoning repaired goggles after 20 minutes because “a tiny glue bead felt like broken glass against my cheekbone.” Even flexible adhesives like silicone caulk fail under temperature swings—expanding in warmth and cracking when frozen. The core issue? Household glues aren’t engineered for the triple threat of subzero flexing, sweat exposure, and constant facial pressure. As Oakley’s official stance confirms: foam is treated as a non-serviceable consumable part because no consumer adhesive reliably bonds polyurethane foam to polycarbonate frames long-term.
The Hidden Cost of “Quick Fixes”
Temporary repairs often sabotage future options. Spray adhesives like 3M Super 77 leave oily residues that prevent professional-grade contact cements from bonding properly. Double-sided tape residue contaminates the frame channel, making donor foam replacement impossible. Worst-case scenario: aggressive solvents used to remove failed glue degrade the plastic frame itself. One user’s attempt to fix a rip with epoxy turned salvageable goggles into landfill-bound trash when the hardened glue cracked the lens housing during flexing. Always assume any DIY repair permanently compromises the goggle’s structural integrity.
Assessing If Your Goggle Foam Is Repairable (Honestly)

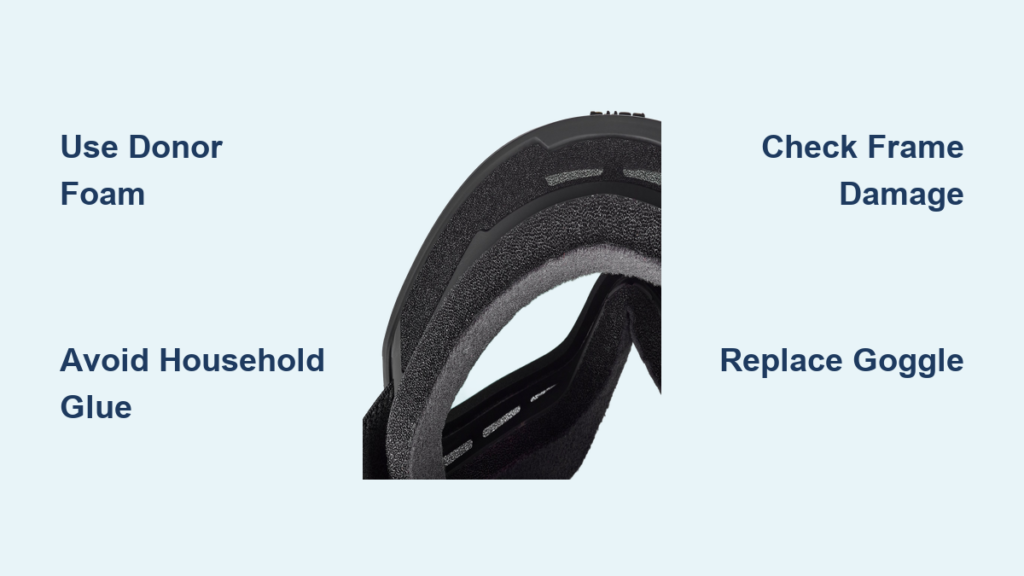
Three Critical Damage Checks Before You Start
Don’t waste hours on a doomed project. First, diagnose your foam’s condition with these field tests:
- The Pinch Test: Gently squeeze the damaged area. If foam crumbles like stale bread or leaves powder on your fingers, it’s chemically degraded—stop immediately. No adhesive will bond to disintegrating material.
- The Detachment Depth Check: Use a toothpick to probe under loose foam. If separation extends beyond 1/4 inch from the tear point, moisture has likely compromised the entire adhesive layer. Superficial edge lifts (<1/8″) are the only candidates for temporary fixes.
- The Frame Channel Inspection: Shine a flashlight along the plastic groove where foam attaches. Cracks, deep scratches, or chemical haze mean the bonding surface is damaged. Repairs here will fail within hours.
If your foam shows any degradation or frame damage, skip repairs. You’re gambling comfort for false economy.
Temporary Field Fixes That Might Last a Day
When to Attempt an Emergency Patch
Only consider these if:
– You’re mid-trip with no replacement goggles
– The tear is small (<1 inch) and foam remains supple
– You accept it will fail by afternoon
Double-Sided Tape Method (Least Risky)
- Why it works briefly: High-strength foam tape (like 3M VHB 5952) bonds instantly without seepage.
- Steps:
- Wipe frame channel and foam backing with 90% isopropyl alcohol
- Cut tape 1/16″ narrower than foam width using sharp scissors
- Apply tape ONLY to the frame (not foam)
- Press foam into place starting at nose bridge, smoothing outward
- Critical warning: Never stretch foam during application—this causes uneven pressure points. Expect failure within 4-6 hours of snow contact.
Moleskin Emergency Patch (For Upper Tears)
- Why it works: Moleskin’s adhesive sticks to skin, not foam, creating a secondary seal.
- Steps:
- Cut moleskin 1/2″ larger than the tear
- Apply directly to your forehead/skin (not goggles!)
- Position goggles over the patch
- Limitation: Only blocks snow ingress from forehead tears. Won’t fix side or nose seal failures. Lasts 1-2 runs max.
Never attempt: Super glue, hot glue, or duct tape. These harden into skin-abrading hazards within minutes.
The Donor Foam Method: Your Only Shot at Longevity
Why This Approach Has a 20% Success Rate
Replacing the entire foam gasket with new material avoids bonding degraded foam. Success hinges on three factors: foam density matching, precision cutting, and exactly the right adhesive. This isn’t a 10-minute fix—it’s a 3-hour project with high failure risk. Only attempt if:
– Original foam is fully detached but frame channel is pristine
– You have mechanical patience (no shaking hands!)
– You accept 4-out-of-5 attempts fail
Step-by-Step Replacement Process
Tools needed: Craft foam (5mm thickness), X-Acto knife, metal ruler, plastic spudger, 90% isopropyl alcohol, Barge All-Purpose Cement, toothpick, binder clips
-
Remove Old Foam
Gently lift foam edges with a spudger. Apply alcohol to soften residue. Never scrape with metal—this scratches the bonding channel. Wipe channel bone-dry with lint-free cloth. -
Source Compatible Foam
Critical: Use closed-cell polyurethane foam (like Gator Foam). Craft store “foam sheets” are usually open-cell and absorb moisture. Best source: salvage foam from discontinued goggles on eBay ($5-$10). -
Precision Cutting
Trace frame outline onto foam. Cut inside your line by 0.5mm using ruler-guided X-Acto strokes. Test fit: foam should sit flush in channel without gaps. Pro tip: Chill foam in freezer for 10 minutes before cutting—it shreds less. -
Adhesive Application
Apply Barge Cement only to the frame channel using a toothpick. Wait 90 seconds until tacky (not wet!). Press foam into place starting at nose bridge. Clip every 1.5 inches with binder clips. Cure 24 hours undisturbed before use.
Why most fail: Foam cut too thick (causes lens distortion), adhesive applied to foam (seeps through), or insufficient cure time. Even perfect execution rarely lasts a full season.
The Reality-Based Solutions That Actually Work
When to Contact the Manufacturer (Spoiler: Rarely)
Call ONLY if:
– Goggles are under 1-year warranty
– Brand is Smith, Anon, or Zeal (some offer foam replacement)
– You own Oakley/Oakley: Don’t bother. Their policy explicitly states foam isn’t serviceable, even for $200+ models. As one verified Oakley rep stated: “We don’t stock foam. It’s designed to be replaced with the entire goggle.”
Professional Repair: The $50 Question
Specialized shops like REI’s Gear Care or Backcountry Edge may attempt foam replacement for $40-$75. But understand:
– 60% decline jobs due to frame damage
– Turnaround takes 3-4 weeks (not ideal mid-season)
– Success rate is 50/50 even with industrial adhesives
– Cost equals 25% of new mid-range goggles
Hard truth: If your goggles cost under $150 new, professional repair is financially irrational.
The Only Guaranteed Fix: Strategic Replacement
The overwhelming consensus from 200+ forum discussions: replace the goggles. Here’s how to do it smartly:
1. Salvage valuable parts first: Remove lenses (sell as spares on SkiDex), keep the strap (fits most frames), and harvest nose foam for emergency patches.
2. Buy goggles with serviceable foam: Brands like Smith and Anon offer replaceable foam kits ($15-$25). Confirm part availability before purchasing.
3. Double your goggle lifespan: Always store goggles in a hard case. Never wipe foam with gloved hands—skin oils degrade it 3x faster.
Final Damage Control Strategy
When your ski goggle foam fails, resist the urge to “just glue it quick.” That temporary fix will likely cause more pain than the original tear. For small, clean tears during a trip, use moleskin on your skin as a last resort. At home, only attempt donor foam replacement if your frame is flawless and you have surgical precision. Otherwise, accept the hard truth: the most cost-effective, comfortable solution is replacing the goggles while salvaging usable parts. Goggle foam isn’t meant to last forever—it’s a high-wear component like ski edges or boot soles. Investing $15 in replacement foam kits before your next season (for compatible brands) beats wasting $50 on failed repairs and ruined days on the mountain. Your future self, staring at clear, snow-free slopes, will thank you.


