
You’re geared up for flight, batteries charged, and ready to take off—only to discover your DJI Goggles 2 refuse to bind with your Vista or O3 Air Unit. That frustrating silence when you press the bind button, the absence of the expected beep, and the blank screen staring back at you can turn an exciting FPV session into a technical nightmare. If you’re searching for solutions to “DJI goggles not binding,” you’re not alone. This specific pairing failure affects countless pilots who encounter the same silent treatment when attempting to connect their digital FPV system. In this guide, you’ll discover exactly why your DJI Goggles 2 won’t initiate binding with your Vista or O3 unit and get step-by-step solutions to resolve it—whether it’s a simple power issue or the notorious bind button hardware failure plaguing many Goggles 2 units.
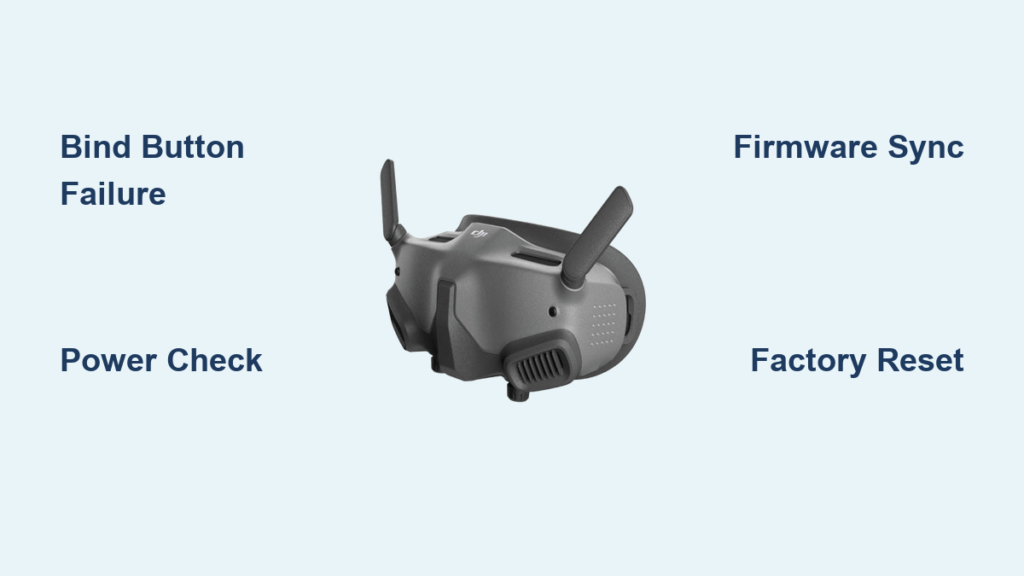
Why Your DJI Goggles 2 Won’t Enter Binding Mode at All
The most immediate frustration occurs when pressing the bind button produces zero response—no beep, no screen prompt, and no indication the goggles recognize your input. This complete lack of feedback typically points to one of two critical issues: either your goggles’ physical bind button has failed (a surprisingly common hardware defect), or there’s a fundamental power or firmware mismatch preventing the binding sequence from initiating. Unlike analog systems that might bind with goggles off, DJI’s digital ecosystem requires fully powered goggles to even attempt the process. When you press and hold the function (Fn) button expecting the distinctive beep and on-screen binding prompt, the absence of these indicators means the bind command never registers with the system.
How to Diagnose a Failed Bind Button on DJI Goggles 2
If your goggles show no reaction when pressing the bind button, perform these critical checks before assuming hardware failure:
- Physical button test: Press the Fn/bind button and feel for a distinct “click.” A mushy, unresponsive, or inconsistent tactile feedback often indicates internal switch failure.
- Power verification: Ensure your goggles are fully powered on—not just in sleep mode. The power indicator should show solid white, not blinking.
- Alternative binding method: Connect your goggles to DJI Assistant 2 (Consumer Drones Series) software on a computer. If you can initiate binding through the software interface, your physical button is definitely faulty.
Pro Tip: Many users report this specific failure point across online forums, with February 2023 seeing multiple confirmed cases where the bind button appeared functional externally but failed internally. This isn’t random user error—it’s a documented hardware weakness in some Goggles 2 units.
Essential Pre-Binding Checklist Before Every Flight
Skip these critical steps and you’ll waste time troubleshooting non-issues. Complete this binding checklist in under two minutes to prevent 80% of common pairing failures:
- Verify stable power sources: Both your drone’s battery (7-26V for Vista) and goggles must have fully charged, stable power. A weak LiPo or unstable BEC can prevent the Vista from booting properly.
- Confirm firmware compatibility: Goggles 2, Vista, and O3 units run different firmware that must be compatible—not necessarily the latest versions. Use DJI Assistant 2 (FPV Series) to check version compatibility.
- Clear previous pairings: If your goggles were previously bound to another air unit, perform a factory reset to clear residual pairing data that might block new connections.
- Check physical connections: Ensure all cables between your Vista/O3 unit and drone power system are secure with no visible damage.
Critical Mistake to Avoid: Never attempt binding with the drone powered by a weak or failing battery. The Caddx Vista is particularly sensitive to unstable voltage, often causing boot failures that mimic binding issues.
Step-by-Step Binding Process That Actually Works
Follow this precise sequence—deviating by even one step causes most binding failures. This method works for both Vista and O3 Air Units when executed correctly.
Correct Binding Sequence for DJI Goggles 2 and Vista/O3 Units
- Power up in proper order: Turn on your DJI Goggles 2 first, allowing them to fully boot to the main menu screen.
- Initiate goggle bind mode: Press and hold the Fn (bind) button on the right side of the goggles for 2-3 seconds until you hear the distinctive beep and see the binding prompt.
- Activate air unit bind mode:
- For Vista units: Insert a non-conductive tool into the bind hole, press and hold the button, then power on the Vista. Release when LED flashes yellow/green.
- For O3 units: Use the OSD menu in goggles or DJI Assistant 2 software to enter bind mode.
- Complete the pairing: Select your air unit from the on-screen list and confirm. Successful binding shows OSD telemetry from your camera.
Time-Saving Shortcut: Keep your goggles and drone within 3 feet during binding. Excessive distance during initial pairing causes most “bound but no video” failures.
Troubleshooting Specific Binding Failure Scenarios
When Goggles Enter Bind Mode But Vista Doesn’t Appear
If your goggles successfully enter bind mode (beep + screen prompt) but your Vista never shows in the device list, focus on these critical areas:
- Power supply verification: Measure voltage at the Vista input with a multimeter—it must be stable 7-26V. Fluctuations above 26V can damage the unit.
- LED pattern diagnosis: A solid red light indicates power issues; rapid blinking suggests firmware problems. Consult DJI’s LED code guide for your specific unit.
- Firmware conflict resolution: If you recently updated your goggles but not your Vista, they may be incompatible. Use DJI Assistant 2 to downgrade Vista firmware to match your goggles’ version.
Hardware Check: Try binding your Vista to another set of DJI goggles. If it works, your original goggles are faulty. If not, the Vista unit requires service.
When Binding Completes But You Get No Video Feed
This “bound but black screen” scenario often stems from misconfigured settings rather than binding failure:
- Bandwidth mismatch: In goggles menu, navigate to Video Settings > Bandwidth and ensure it matches your air unit’s capability (25Mbps or 50Mbps).
- Channel interference: Manually select channel 5-8 in the goggles menu to avoid common WiFi interference on channels 1-4.
- Antenna connection check: Verify both antennas on the air unit are securely screwed in—loose connections cause signal dropouts that mimic binding failures.
Pro Tip: After successful binding, immediately perform a channel scan in the goggles menu to identify the clearest transmission channels for your location.
Permanent Solutions for Faulty DJI Goggle Bind Buttons
If testing confirms your bind button is physically faulty (no continuity when pressed), you have three viable paths forward:
- Warranty claim: If under warranty, contact DJI support immediately—this is a known hardware defect they should cover.
- Professional repair: Seek an electronics specialist experienced with micro-soldering to replace the tactile switch.
- Advanced user temporary fix: Carefully open the goggles (voids warranty), locate the bind button contacts on the mainboard, and briefly bridge them with tweezers to initiate binding mode when needed.
Critical Warning: The temporary fix requires precision—accidentally shorting adjacent components can cause permanent damage. Only attempt if you have electronics experience.
Firmware Fixes That Resolve “DJI Goggles Not Binding” Errors
Many binding issues stem from firmware mismatches rather than hardware problems. Implement these software solutions:
- Synchronized firmware update: Use DJI Assistant 2 (FPV Series) to update both goggles and air unit to the same compatible firmware version—not necessarily the latest.
- Factory reset procedure: Hold power + Fn buttons for 10 seconds to reset goggles to factory settings, clearing corrupted pairing data.
- Firmware re-flash: Sometimes updates install incorrectly. Reinstall the same firmware version to overwrite potential corruption.
Time-Saving Tip: Create a firmware log file in DJI Assistant 2 when binding fails—this often contains specific error codes that pinpoint whether the issue is hardware or software related.
Prevent Future Binding Failures with These Pro Maintenance Steps
Once you’ve resolved your current “DJI goggles not binding” issue, implement these preventive measures:
- Power cycle ritual: Before each flight session, power off all components for 2 minutes, then power on goggles first.
- Firmware consistency: Never update one component without checking compatibility with others—use DJI’s firmware compatibility chart.
- Button maintenance: Periodically clean around the bind button with compressed air to prevent debris accumulation that causes false triggers.
- Binding log: Keep a simple log of successful binding dates and firmware versions to quickly identify when updates cause issues.
Critical Maintenance Step: After any firmware update, immediately test binding with your air unit before heading to the field—don’t wait for flight day to discover compatibility issues.
By following this precise troubleshooting path, you’ll resolve most “DJI goggles not binding” issues within 15 minutes. The key is systematic elimination—starting with power and firmware before concluding hardware failure. Remember that the bind button itself is the most common single point of failure based on user reports, so test this early in your diagnostic process. With these solutions implemented, you’ll spend less time troubleshooting and more time flying your FPV drone with reliable video transmission. When all else fails, the DJI Assistant 2 log files provide crucial evidence for warranty claims if hardware replacement becomes necessary.


