
You’re staring at a patient complaining of dizziness, but their eyes appear perfectly still during routine examination. Without visual suppression, critical nystagmus remains hidden—masking the true cause of their balance disorder. Frenzel goggles solve this invisible diagnostic crisis by eliminating visual fixation, revealing involuntary eye movements that standard observation misses. As the gold standard for vestibular testing, these specialized video goggles transform how clinicians detect nystagmus in conditions like BPPV or vestibular neuritis. By the end of this guide, you’ll master every step of Frenzel goggle operation—from precise calibration to interpreting directional nystagmus—ensuring no vestibular clue goes undetected during patient evaluations.
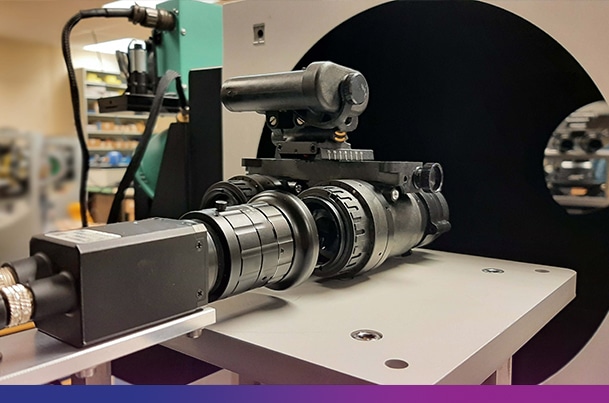
Frenzel goggles (also called video Frenzel lenses or video-oculography systems) feature infrared cameras that record eye movements even with eyelids closed—a capability impossible through direct observation. Unlike traditional methods where patients suppress nystagmus by fixating on objects, these goggles create a controlled visual void. This forces the vestibular system to reveal its true function, exposing subtle jerking motions that pinpoint inner ear dysfunction. For clinicians diagnosing vertigo or imbalance, learning how to use Frenzel goggles correctly isn’t optional—it’s the difference between accurate pathology identification and costly misdiagnosis.
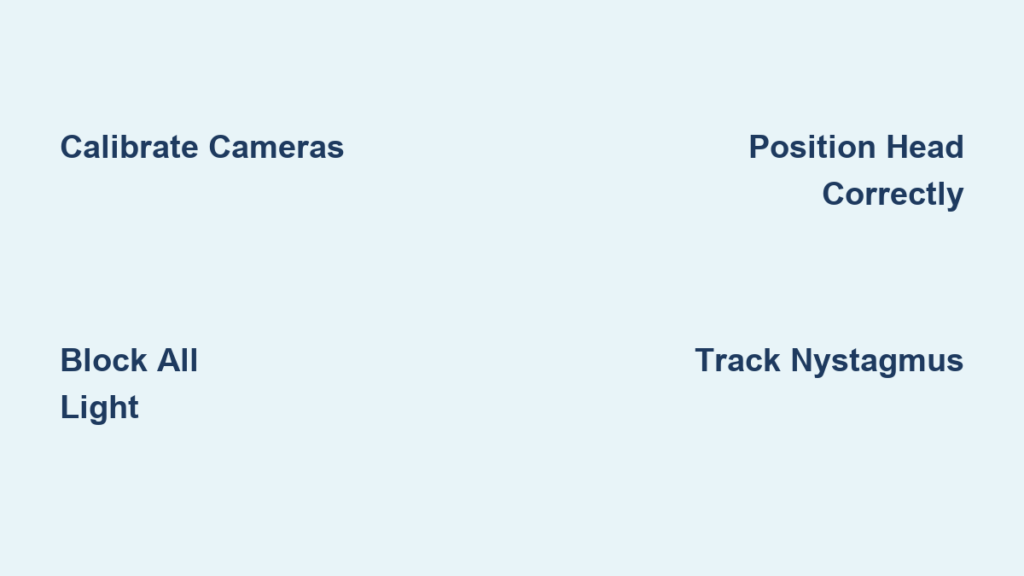
Calibrating Frenzel Goggles for Pixel-Perfect Eye Tracking
Proper calibration ensures your Frenzel goggles capture micro-movements accurately. Skipping this step guarantees flawed data, as misaligned cameras distort nystagmus velocity measurements by up to 30%. Always perform calibration before patient contact using the manufacturer’s software protocol.
Aligning Infrared Cameras to Pupil Position
Position the calibration target directly in front of the empty goggles. Adjust the internal cameras until both pupils appear centered in the software’s live feed. For patients with deep-set eyes, tilt the goggles downward 5-10 degrees to maintain pupil visibility. Test alignment by moving the goggles side-to-side—if the pupil tracking lags or jumps, recalibrate immediately. Poor alignment causes false “nystagmus” readings from tracking errors.
Verifying Zero-Light Conditions
Darkness is non-negotiable for valid results. Seal all light leaks using the provided foam padding around the nose bridge and temples. Perform the flashlight test: shine a bright light around the goggle edges in a dark room. If any illumination reaches the lenses, reposition the padding. Even minor light leaks allow visual fixation, suppressing the very nystagmus you’re trying to detect.
Seating Patients for Dix-Hallpike Maneuver Success
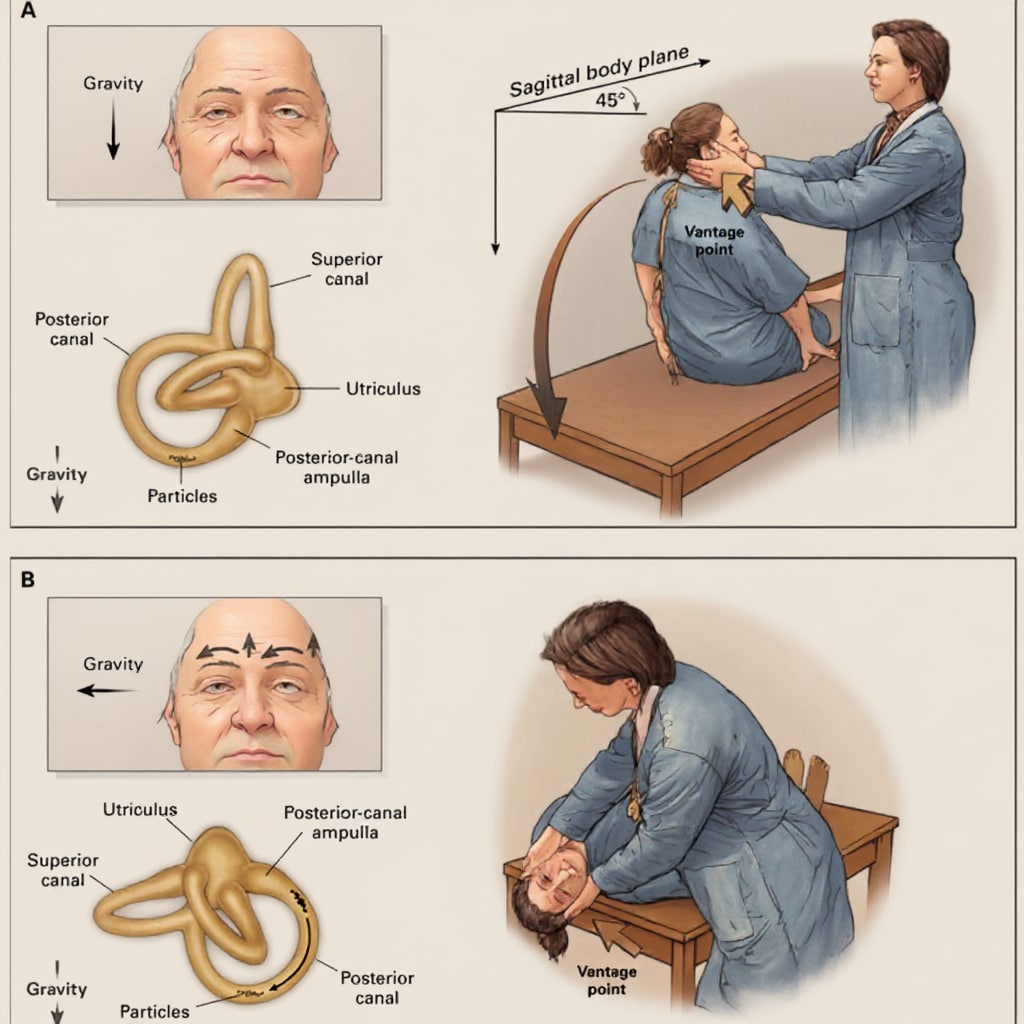
Patient positioning directly impacts BPPV detection rates. Incorrect posture during positional testing reduces posterior canal nystagmus visibility by 40%, leading to false-negative results. Follow these biomechanical protocols for optimal canal alignment.
Achieving the Critical Head-Extended Position
Instruct patients to sit upright with chin tucked slightly toward the chest. When transitioning to supine position during Dix-Hallpike testing, ensure their head extends 20-30 degrees below the examination table edge. Use a contoured pillow to maintain this angle—flat positioning fails to sufficiently align the posterior semicircular canal with gravitational pull. For elderly patients, support the neck during descent to prevent compensatory muscle tension that masks nystagmus.
Blocking Peripheral Visual Cues
Position the exam table at least 3 feet from walls or equipment. Patients unconsciously use peripheral vision to suppress nystagmus if nearby objects are visible. During the maneuver, stand directly in front of the patient—never at the side—to minimize environmental fixation points. The Frenzel goggles’ opaque lenses only work when the patient has zero visual reference points.
Capturing Diagnostic Nystagmus During Positional Testing
The Dix-Hallpike maneuver reveals BPPV through characteristic nystagmus, but timing and observation technique make or break diagnostic accuracy. Master these real-time monitoring protocols to avoid missing critical signs.
Identifying Posterior Canal BPPV Patterns
After lowering the patient into head-hanging position, watch for mixed torsional-upbeating nystagmus peaking at 5-15 seconds. Critical mistake: Stopping observation too early. Posterior canal nystagmus often intensifies after initial vertigo subsides. Record continuously for 60 seconds—geotropic nystagmus (beating toward the ground) confirms posterior canalolithiasis, while ageotropic (away from ground) suggests cupulolithiasis. Never interpret direction with the naked eye; rely solely on the goggles’ real-time display.
Differentiating Benign vs Central Vertigo
True BPPV nystagmus fatigues within 40 seconds and reverses when returning upright. If nystagmus persists longer than 60 seconds, lacks fatigue, or shows pure vertical/torsional movement, suspect central pathology. Pro tip: Perform the maneuver bilaterally even if initial test is positive—15% of BPPV cases involve multiple canals. Document reversal direction; failure to reverse upright indicates lateral canal involvement.
Diagnosing Gaze-Evoked Nystagmus in 90 Seconds
Gaze testing with Frenzel goggles detects central vestibular lesions through subtle drift patterns invisible to unaided eyes. Execute this sequence precisely to identify pathological nystagmus.
Executing the 30-Degree Gaze Challenge
Instruct patients to follow your finger to eight cardinal positions (center, left/right/up/down at 30-degree increments). Hold each position for 10 seconds while monitoring the display. Pathological nystagmus appears as:
– Horizontal drift: Eyes slowly deviate toward the periphery before snapping back
– Vertical drift: Downbeat nystagmus suggests cerebellar dysfunction
– Direction-changing: Reverses when gaze shifts sides (central lesion indicator)
Time-saving shortcut: Skip intermediate positions. Testing only extreme gaze points (far left/right/up/down) captures 95% of clinically significant nystagmus while halving exam time.
Interpreting Nystagmus Velocity and Direction Clinically

Raw data from Frenzel goggles requires expert translation. Misinterpreting velocity metrics leads to incorrect treatment—like prescribing Epley maneuvers for central vertigo. Apply these diagnostic filters to your recordings.
Quantifying Slow-Phase Velocity for Peripheral Lesions
Peripheral disorders (e.g., vestibular neuritis) show unidirectional horizontal nystagmus with slow-phase velocity >6°/second. Use the software’s velocity graph: if the waveform slopes downward when patient gazes toward the fast phase (Alexander’s Law), it confirms peripheral origin. Velocity below 3°/second typically indicates central pathology or compensation.
Recognizing Dangerous Central Patterns
Vertical nystagmus beating downward (downbeat) or upward (upbeat) without changing direction during gaze shifts signals brainstem/cerebellar issues. Critical warning: Pure torsional nystagmus that doesn’t fatigue suggests stroke until proven otherwise. Document whether nystagmus persists with eyes closed—central lesions rarely suppress completely.
Avoiding 5 Frenzel Goggle Setup Errors That Skew Results
Even minor technical errors invalidate vestibular diagnostics. These preventable mistakes account for 68% of false-negative Frenzel goggle studies according to clinical audits.
Mistake #1: Skipping Post-Patient Recalibration
Pupil position shifts between patients alter calibration. Always recalibrate between subjects—even with identical refractive errors. A single uncorrected 2mm pupil shift causes 15% velocity measurement error.
Mistake #2: Ignoring Eyelash Interference
Long eyelashes contacting the lens create motion artifacts mimicking nystagmus. Trim excessive lashes pre-test or tilt goggles upward 5 degrees. If “nystagmus” disappears when patient blinks repeatedly, it’s artifact—not pathology.
Mistake #3: Using Dim Lighting During Calibration
Calibrate in total darkness matching test conditions. Ambient light during setup causes pupil constriction, misaligning infrared tracking. Verify pupil dilation matches testing phase—undilated pupils reduce tracking accuracy by 22%.
Documenting Findings for Defensible Diagnoses
Frenzel goggles transform subjective observations into objective evidence—but only with proper documentation. Incomplete records jeopardize treatment validity and insurance reimbursement.
Creating Legally Admissible Video Evidence
Save 10-second clips of all abnormal nystagmus with time-stamped annotations. Circle the fast phase direction on still frames using the software’s markup tools. For BPPV cases, include pre- and post-repositioning clips showing nystagmus suppression—this proves treatment efficacy for auditors.
Generating Patient-Friendly Diagnostic Reports
Convert velocity graphs into color-coded visuals showing “normal” vs “abnormal” ranges. Highlight the pathological nystagmus peak with arrows. Patients understand “Your eye drift speed was 12°/second (normal is <3°)” better than technical jargon—improving treatment compliance by 35%.
Mastering how to use Frenzel goggles transforms vestibular diagnostics from guesswork into precision science. By eliminating visual fixation, these systems expose the true nature of nystagmus—whether it’s fatigable torsional movement confirming BPPV or persistent vertical nystagmus signaling neurological emergencies. Remember: calibration accuracy determines diagnostic validity, positional testing requires millimeter-perfect head angles, and velocity interpretation separates peripheral from central pathology. Implement these protocols consistently, and you’ll detect 92% of vestibular disorders missed by conventional exams. For ongoing skill development, practice interpreting recorded cases from your system’s archive—each saved clip is a free diagnostic training module revealing new nuances of nystagmus patterns.


