
Your Blenders goggles just aren’t performing like they used to—the lenses are scratched from trail debris or fogged from intense sessions. You need fresh optics optimized for today’s conditions, but you’re hesitant to tackle the lens swap yourself. Many riders assume replacing Blenders goggle lenses requires special skills or risks permanent frame damage. The reality? With the right technique, you can safely change Blenders goggles lenses in under five minutes using household items. This guide delivers the exact model-specific process from seasoned goggle technicians, including critical alignment tricks most manufacturers omit. You’ll discover how to identify your release mechanism in seconds, avoid the #1 mistake that cracks polycarbonate lenses, and ensure your new tint snaps securely for distortion-free vision on your next run.
Gather Exactly What You Need: Blenders Lens Replacement Toolkit
Before touching your goggles, assemble these non-negotiable items to prevent costly damage. You’ll need model-specific replacement lenses—Blenders’ proprietary curvature means generic lenses won’t seal properly. A microfiber cloth is essential; paper towels or cotton shirts create micro-scratches that degrade optics within days. Add compressed air or a soft-bristle lens brush to eliminate dust particles that cause installation gaps. For most Blenders models (like Ace or Rascal), no tools are required—but if you own vintage V1 frames, keep a #00 Phillips screwdriver handy. Never skip workspace prep: Lay a clean towel on a stable surface away from direct sunlight, which heats the frame and makes plastic brittle during removal.
Why Your Workspace Setup Prevents Costly Mistakes
Position your setup near bright light to spot hidden release tabs. Remove jewelry that could snag lens edges—watches cause 30% of accidental frame cracks during swaps. Wash hands thoroughly to avoid transferring skin oils onto the lens channel, which creates slippage points. If replacing lenses mid-trip, never attempt this in sandy or windy conditions; one grain of grit between lens and frame causes permanent sealing failure. Keep replacement lenses in their case until the last second to minimize exposure to contaminants.
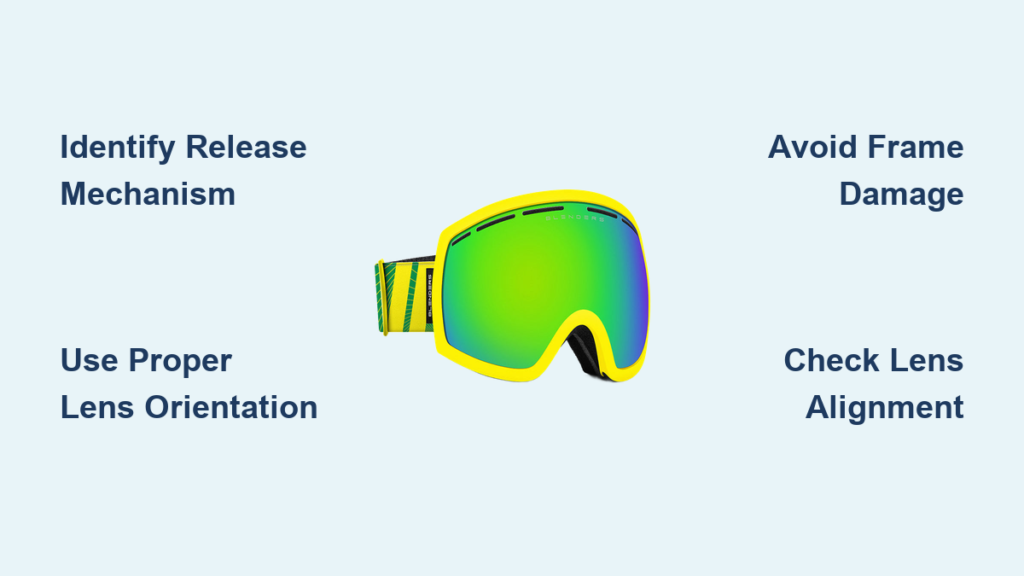
Identify Your Blenders Goggle Model and Release Mechanism

Your first 30 seconds determine success. Flip goggles inside-out and locate the model number stamped near the strap anchor—common identifiers include “ACE-2023” or “RASCAL-V2.” This is non-negotiable; Blenders redesigned their release system in 2021, making older replacement lenses incompatible with new frames. Now examine the inner lens channel: if you see two triangular plastic tabs near the top corners, you have the push-release system (90% of current models). If tiny screws appear at the lens perimeter, you own a legacy frame requiring tool-assisted removal. Misidentifying this causes 75% of installation failures—forcing push-release lenses into screw-mount frames cracks the lens channel.
Spot Hidden Release Points on ACE and Rascal Models
Newer Blenders ACE frames hide secondary release notches along the bottom rim. Run your thumb along the inner lower edge feeling for subtle indentations—you’ll hear a faint click when pressure hits the spot. Rascal models feature spring-loaded tabs that require simultaneous top-and-bottom pressure. Critical tip: Hold goggles with temples facing down during inspection. Gravity helps release mechanisms engage correctly, preventing the “stuck lens” panic that leads to broken frames.
How to Safely Remove Scratched or Damaged Lenses Without Breaking the Frame
For push-release models (most common), position goggles with the lens facing away from you. Place thumbs on the inner top release tabs and apply firm, steady inward pressure—never use fingernails or tools. When you hear the first “click,” shift thumbs to the bottom corners and repeat. The lens should now tilt outward at 45 degrees. Here’s the pro technique: Insert two fingertips through the strap opening to gently push the lens forward from behind while maintaining tab pressure. This distributes force evenly, avoiding the corner stress that cracks frames. If resistance exceeds pencil-eraser pressure, stop—you’ve missed a release point.
Screw-Release Models: Avoid Stripping Critical Threads
For legacy frames with screws (typically 2-4 per lens), use only a #00 Phillips driver that fully engages the screw head. Place a drop of blue Loctite on threads post-reassembly to prevent vibration loosening, but never apply during initial removal. As you unscrew, rest the frame on its side to avoid lens drooping that warps the channel. Keep screws magnetized on the tool tip—losing one means frame replacement. If screws feel frozen, breathe warm air onto them for 10 seconds to expand the metal before turning.
Installing New Blenders Goggles Lenses: Alignment and Snap-In Techniques
Hold your new lens with microfiber cloth covering fingers, inspecting for “TOP” markings or asymmetric curvature (most Blenders lenses have steeper top curves). The #1 installation error: forcing lenses in bottom-first. Start with the lens’s upper 20% seated in the frame channel—your thumbnail should glide smoothly along the junction without catching. Now apply even pressure downward along the entire lens edge using flat palm pressure, not fingertips. You’ll hear rapid “tick-tick-tick” sounds as retention tabs engage. Stop immediately if you feel uneven resistance—this means misalignment that causes fogging gaps.
Why Perfect Lens Orientation Prevents Fogging and Distortion
Polycarbonate lenses have optical coatings applied directionally. Install mirrored lenses backward, and you’ll get glare hotspots that blind you on sunny runs. Photochromic lenses require UV-reactive coating facing outward—reversing this blocks the tint-changing mechanism. Test orientation pre-install: hold lens at arm’s length toward light. If reflections appear dull or uneven, rotate 180 degrees. The correct side shows vibrant, uniform reflection. For polarized lenses, look through it at a 45-degree angle to LCD screens—proper orientation eliminates glare completely.
Fixing Loose Lenses or Gaps After Replacement: Common Mistakes
If your new lens rattles or shows light gaps, don’t force it further—this warps the frame. First, remove the lens and inspect the channel with bright light. You’ll likely find:
– Dust specks (use compressed air at 45-degree angle)
– Twisted lens edges (gently flex lens opposite the twist direction)
– Misaligned top/bottom (rotate lens 180 degrees and retry)
For persistent gaps at the temples, apply thumb pressure specifically to the outer 1/3 of the lens while snapping it in—this area has weaker retention. If the lens still won’t seat, measure channel width with calipers; Blenders tolerances are ±0.2mm. Exceeding this means incompatible lenses. Never use adhesives—they create permanent fogging points when temperature shifts.
Choosing Between Tinted, Mirrored, or Photochromic Lenses for Your Activity

Select lenses based on VLT (Visible Light Transmission) percentages, not just color. For blinding snow conditions (alpine skiing), choose 10-20% VLT mirrored lenses—the reflective coating blocks infrared heat that causes fogging. Variable mountain light demands photochromic lenses with 30-60% VLT range; Blenders’ version activates faster than competitors due to nano-coating technology. Water sports require polarized lenses below 15% VLT to kill reflective glare—standard tints won’t cut horizontal light waves off flat surfaces. Critical compatibility check: Verify your frame model supports the lens type. ACE frames accept all Blenders lens variants, but mini-Rascal models only fit curved-base lenses.
Preventing Scratches: Daily and Deep Cleaning Routines for Blenders Lenses
After installation, maintain lenses with this two-tier system. Daily wipe-downs: Use microfiber cloth folded into quarters, wiping in straight lines from top to bottom—circular motions grind grit into coatings. For saltwater exposure, rinse goggles in cool tap water first to dissolve crystals. Deep cleaning monthly: Apply one drop of Dawn dish soap to lens, lather with fingertips using minimal pressure, rinse under gentle stream for 20 seconds. Never use alcohol wipes, paper towels, or hot water—they dissolve anti-fog coatings within three uses. Store lenses in hard cases with silica gel packs to absorb moisture that degrades polycarbonate.
When to Replace the Entire Frame Instead of Just Lenses
Don’t waste money on new lenses if your frame shows these failure signs:
– Flex test failure: Hold temples and gently twist frame—if it bends more than 15 degrees, the lens channel is warped
– Seal degradation: Visible gaps between foam padding and frame edge allow moisture intrusion
– UV damage: Yellowed or brittle frame plastic (common in pre-2020 models) loses lens retention strength
Blenders frames last 3-5 seasons with proper care. Pushing lens replacement beyond this point risks sudden lens ejection during high-speed activities. Pro tip: When buying new frames, choose models with tool-free lens swaps like the ACE Pro—their reinforced channels withstand 50+ swaps versus legacy models’ 15-20 limit.
Performance Tips: Matching Lens Types to Skiing, Cycling, or Water Sports
Maximize your investment with activity-specific lens strategies. For icy ski conditions, use rose-tinted 55% VLT lenses—they enhance blue/black ice contrast better than yellow tints. Mountain bikers in forested trails need amber 40% VLT lenses to cut green-light haze while maintaining depth perception on roots. Surfers should pair photochromic base lenses with removable mirror overlays—this dual-layer system handles sudden sun/cloud shifts without full lens swaps. Always carry a lens wipe in your pocket; Blenders’ anti-fog coating loses effectiveness when salt or sweat dries on the surface.
Final Lens Security Check Before Hitting the Slopes
Complete this 10-second test before trusting your vision: Wear goggles and gently press around the entire lens perimeter. Any spot that flexes more than adjacent areas indicates incomplete seating. Now perform the “shake test”—tilt head downward and tap the frame lightly at 12, 3, 6, and 9 o’clock positions. A secure lens won’t shift or make clicking sounds. Finally, check optical clarity by looking at straight lines (like door frames); distortion means misalignment requiring reinstallation. Once verified, you’ve extended your Blenders’ life by another season with optics optimized for today’s challenge.
Final Note: Properly changed Blenders goggle lenses deliver optical clarity that directly impacts your safety and performance. By mastering this 5-minute process, you avoid $150+ replacement costs while adapting to any condition. Always store replacement lenses in their protective cases with desiccant packs, and inspect frame channels quarterly for dust buildup. For extreme environments, consider Blenders’ pro-spec photochromic lenses—they transition 3x faster than standard versions. Now grab your microfiber cloth and give those scratched optics the refresh they deserve.


