
There’s something undeniably cool about vintage pilot goggles—their distinctive round lenses, leather straps, and industrial charm transport you straight to the golden age of aviation. While you won’t be flying cross-country with homemade goggles (more on that critical safety point shortly), crafting your own pair is the perfect weekend project for steampunk enthusiasts, cosplay fans, or anyone wanting authentic-looking aviation accessories. The good news is you can create convincing pilot goggles using materials from your craft stash and hardware store in just a few hours. This guide reveals exactly how to make pilot goggles that look the part for costumes, photo shoots, or decorative purposes—without risking your eyesight with unsafe materials or construction methods.
Before you grab your tools, understand this crucial distinction: homemade pilot goggles are strictly for costume and style purposes. They lack the optical precision, shatter resistance, and safety certifications required for actual flight or industrial work. The Federal Aviation Administration requires certified eyewear for pilots, and no DIY project can replicate these standards. That said, with careful material selection and proper construction techniques, you can create goggles that capture the classic aviator aesthetic while keeping your eyes safe during photo sessions or costume events. In this guide, you’ll learn how to make pilot goggles using accessible materials, avoid dangerous shortcuts, and achieve professional-looking results without specialized equipment.
Why Regular Glass or Plastic Lenses Are Dangerous for DIY Goggles
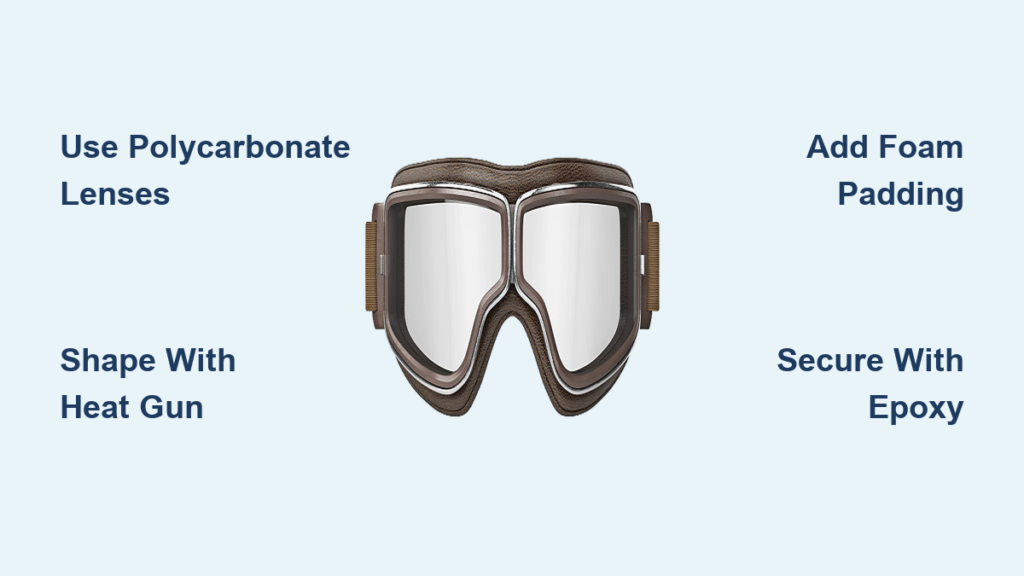
Never use standard glass or brittle plastic for your pilot goggles—this is the most critical safety consideration. When traditional glass breaks, it shatters into dangerous shards that can cause permanent eye damage. Even many plastics fracture unpredictably under impact. For costume goggles that won’t compromise safety, you need materials that bend rather than break. Polycarbonate is your best option—it’s the same material used in actual aviation and safety goggles because it withstands significant force without shattering. Thick acrylic works as a second choice, though it’s more prone to cracking than polycarbonate. You can often find suitable materials at hardware stores in the plexiglass section, or repurpose clear plastic from sturdy containers. Look for plastic at least 1/8-inch thick that flexes slightly when pressure is applied, rather than snapping cleanly.
How to Test Your Lens Material for Safety
Before cutting your lenses, perform this simple safety check: clamp a small scrap piece firmly at both ends and apply gradual pressure to the center. Safe material will bend noticeably before breaking, while dangerous material will snap suddenly with minimal flex. Another test: drop the scrap from waist height onto a hard surface. Polycarbonate will bounce, while unsafe materials often crack or shatter. If your material fails these tests, keep searching—your eyes aren’t worth the risk for a costume.
Crafting Your Goggle Frame from Household Materials

You don’t need specialized tools to create authentic-looking goggle frames. The most accessible option uses a 2-liter soda bottle, which provides thin, flexible plastic perfect for shaping into goggle cups. Start by thoroughly cleaning and drying an empty bottle, then carefully cut around the circumference about 3 inches from the bottom using sharp scissors or a craft knife. This creates a flat plastic disc you’ll transform into your lens frame. Trace two identical circles (about 2.5 inches in diameter) on the plastic, leaving at least 1 inch between them. Cut out these circles, then cut a smaller circle inside each (about 1/8 inch smaller in diameter) to create a lip that will hold your lens securely.
Shaping the Frame with Heat for Professional Results
To create the distinctive curved shape of aviation goggles, you’ll need to soften the plastic. Use a heat gun on low setting or a hairdryer on high heat, moving it constantly about 6 inches from the plastic to avoid melting spots. As the plastic becomes pliable (it will turn slightly translucent), gently press it against a rounded object like a coffee mug or the bottom of a small bowl. Hold in place until cooled—this creates the cup shape that gives pilot goggles their authentic look. Sand the edges smooth with fine-grit sandpaper to prevent scratches. For steampunk variations, consider adding brass-colored paint or small metal accents after shaping.
Building the Adjustable Head Strap System
The strap makes or breaks your goggles’ comfort and authenticity. Start with a 1-inch wide strip of thick leather or pleather cut to 24 inches long (adjust based on your head size). Punch evenly spaced holes along both ends using a leather hole punch—this allows for size adjustment. For the nose bridge strap, cut a 6-inch strip of the same material. Attach the main strap to the sides of your goggle frames using small metal D-rings: glue the rings securely to the frame sides with epoxy, then thread the strap through them. Connect the nose bridge strap between the two lens frames with small brass screws or strong adhesive.
Pro Tip for Comfortable All-Day Wear
Add 1/4-inch foam padding covered in soft fabric where the frames meet your face. Cut small oval pieces that match the frame shape, glue them in place, then cover with thin felt or suede for a professional finish. This simple addition transforms uncomfortable DIY goggles into wearable costume pieces you can enjoy at conventions or photo shoots without constant readjustment.
Troubleshooting Your Pilot Goggle Construction

Even with careful planning, you might encounter issues during construction. If your lenses keep falling out, the frame lip is likely too shallow—add a thin bead of clear silicone sealant around the inner rim before reinserting the lens. For lopsided goggles, check that both lens frames are attached at identical heights on the bridge piece; disassemble and remeasure if necessary. If the strap slips constantly, increase friction by adding a thin strip of non-slip material (like rubberized shelf liner) to the inside of the head strap.
Fixing Foggy Lenses Without Professional Coatings
Homemade goggles often fog due to lack of ventilation channels. While you can’t replicate commercial anti-fog coatings at home, a simple solution exists: rub a tiny amount of dish soap on the inside lens surface, then buff with a soft cloth. This creates a microscopic film that prevents moisture buildup. Reapply after cleaning. For better results, ensure a small gap exists between your face and the goggle frame—completely airtight seals actually increase fogging.
The 4 Most Dangerous DIY Goggle Mistakes to Avoid

Novice crafters often make these critical errors that compromise both safety and appearance. First, using hot glue for lens attachment—a common mistake that creates visible blobs and weak bonds that fail over time. Instead, use clear epoxy designed for plastics. Second, making the nose bridge too rigid, causing discomfort and poor fit—add flexibility with a thin leather strip rather than stiff material. Third, skipping the frame lip that holds lenses securely, leading to dangerous lens dislodgement. Fourth, using thin, flimsy strap material that stretches out of shape—opt for 1/8-inch thick leather for lasting durability.
How to Store and Maintain Your Handmade Pilot Goggles
Proper care extends your goggles’ lifespan significantly. Always store them in a soft pouch or case lined with microfiber cloth to prevent scratches. Clean lenses with a solution of mild soap and water applied with a soft cloth—never paper towels or rough fabrics. Avoid alcohol-based cleaners that can cloud plastic over time. Check strap attachments monthly for loosening, and reapply adhesive as needed before small problems become big failures. With proper care, your homemade pilot goggles can remain costume-ready for years.
When Professional Goggles Are Non-Negotiable
While your DIY creations will look fantastic at comic conventions or themed parties, never compromise on safety for actual activities requiring eye protection. Real flying, woodworking, chemistry experiments, or even intense airsoft games demand certified safety equipment. Professional pilot goggles undergo rigorous testing for optical clarity, impact resistance, and UV protection—standards impossible to verify in homemade versions. Keep your costume goggles strictly for dress-up, and invest in proper safety gear for any situation where eye injury is possible.
Creating your own pilot goggles blends craftsmanship with aviation history, resulting in unique accessories that spark conversations and elevate costumes. By following these detailed instructions and respecting the critical safety boundaries, you’ll craft authentic-looking goggles that honor aviation heritage while keeping your actual eye protection needs properly addressed. Whether you’re preparing for a World War I reenactment, steampunk festival, or just want distinctive wall decor, your handmade pilot goggles will stand out as a testament to thoughtful DIY craftsmanship. The most rewarding part? Knowing exactly how to make pilot goggles that balance style, safety awareness, and personal expression.

