
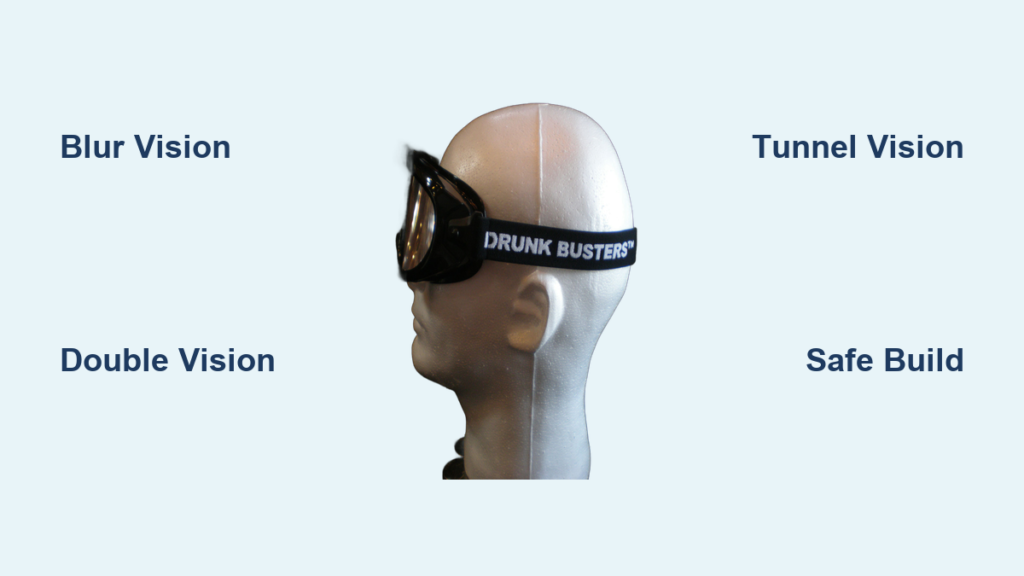
Imagine trying to thread a needle while your vision splits into double images, or navigating an obstacle course as if viewing the world through a foggy windshield. This is the jarring reality impairment goggles create—and why learning how to make impairment goggles transforms safety training from abstract warnings into unforgettable lessons. These specialized tools simulate alcohol intoxication, fatigue, cataracts, and other vision-altering conditions by distorting depth perception, narrowing peripheral vision, or creating blind spots. When emergency responders, drivers, or factory workers experience these effects firsthand, they develop visceral awareness of impairment risks that lectures alone can’t provide. By the end of this guide, you’ll know exactly how to build functional impairment goggles for under $15 using household materials, with proven techniques for simulating 5 distinct impairment scenarios safely.
Why Standard Safety Drills Fail Without Impairment Goggles
Most workplace and driver education programs rely on theoretical discussions about impairment risks, but research shows these methods have limited impact. Trainees often dismiss warnings with “I’d never drive like that” attitudes—until they experience distorted vision themselves. Impairment goggles close this empathy gap by forcing users to complete simple tasks like walking a straight line or stacking blocks while their visual field is compromised. The moment trainees fumble basic coordination due to simulated alcohol effects or tunnel vision, abstract dangers become concrete threats. This isn’t just about shock value; studies confirm hands-on impairment simulations increase safety compliance by up to 73% compared to traditional lectures. For organizations with tight training budgets, how to make impairment goggles DIY-style delivers maximum impact per dollar while making safety protocols impossible to ignore.
Essential Materials Checklist for Impairment Goggle Projects
Gather these supplies before starting—never improvise with unsafe materials near eyes:
- Base goggles: Old safety goggles or swim goggles with removable lenses (must create full eye seal)
- Vision-distorting films: Frosted adhesive film, wax paper, or clear plastic sheets (e.g., report covers)
- Impairment agents: Petroleum jelly (Vaseline), fine-grit sandpaper (220+ grit), or permanent markers
- Peripheral blockers: Black electrical tape or thin cardboard
- Assembly tools: Scissors, hobby knife, hot glue gun (with adult supervision), and non-toxic craft glue
Critical safety note: Never use glass, shattered plastics, or chemicals that could contact skin. All materials must remain sealed away from eyes—petroleum jelly, for example, must be sandwiched between plastic layers, not applied directly.
Selecting Your Base Goggle Frame for Maximum Safety
Your foundation determines success. Avoid flimsy toy goggles—opt for ANSI Z87.1-rated safety goggles with adjustable straps that create an airtight seal around the eyes. Swim goggles work if they prevent light leakage from the sides. Remove existing lenses completely using a hobby knife to avoid jagged edges; smooth any rough spots with fine sandpaper. Test the frame by wearing it in a dark room with a flashlight—if light penetrates gaps, reinforce edges with black electrical tape. This seal ensures impairment effects come solely from your custom lenses, not external light interference.
Creating Blurred Vision for Alcohol or Cataract Simulation

Alcohol intoxication and cataracts both cause hazy, indistinct vision. Replicate this in 15 minutes:
- Cut two clear plastic sheets to match your goggle lens size
- Apply a pea-sized dollop of petroleum jelly to the center of one sheet
- Pro tip: Smear jelly in concentric circles (not randomly) for more realistic distortion
- Press the second sheet over it, sealing edges with clear packing tape
- Insert this “jelly sandwich” into the goggle frame using non-toxic glue
Visual cue: Successful simulation creates milky fogging that worsens toward the edges while maintaining a slightly clearer central zone—mimicking how intoxicated users fixate on limited visual fields. Avoid over-application; excessive jelly causes complete blindness rather than impairment.
Why Wax Paper Beats Cheap Alternatives for Medical Simulations
For cataract or glaucoma training, wax paper outperforms plastic wrap by diffusing light more naturally. Layer 2-3 sheets over your base lens, securing only at the outer rim to allow slight movement. This creates dynamic blurring that shifts with head motion—critical for simulating progressive vision loss. Unlike petroleum jelly, wax paper requires no sealing but must be replaced after 3-5 uses as moisture degrades its texture.
Building Double Vision Lenses for Drug Impairment Effects
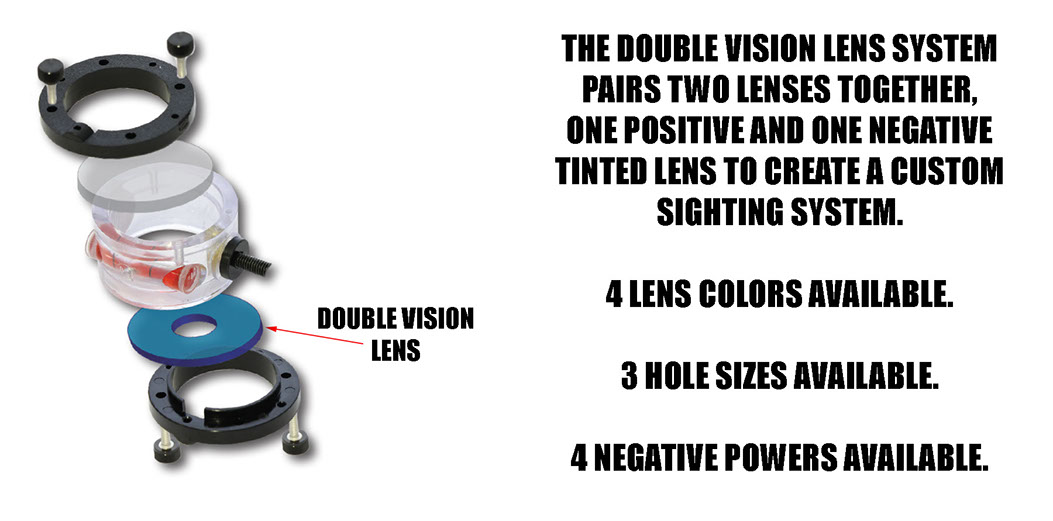
DUI simulators rely on duplicated images to mimic substance-induced disorientation. Here’s how to make them:
- Cut two identical plastic lenses from report covers
- Sand one lens’s entire surface with 220-grit paper using circular motions
- Leave the second lens clear for focal reference
- Mount the sanded lens directly against the goggle frame
- Position the clear lens 1/8 inch in front using foam spacers
Troubleshooting tip: If images don’t double, increase the spacer thickness incrementally. If nausea occurs, reduce sanding—you want mild distortion, not extreme disorientation. Test on yourself first by reading text; successful lenses make words appear as overlapping ghosts while maintaining basic shape recognition.
Avoiding the #1 DIY Mistake: Overdoing Prism Effects
Many beginners try complex prism setups using cut plastic bottles. This often causes severe headaches. Instead, create subtle double vision by offsetting lenses just 2-3mm vertically. Hold lenses up to a lightbulb—if you see two distinct filaments, the effect is strong enough for training.
Designing Tunnel Vision Goggles for Peripheral Loss

Glaucoma or extreme fatigue narrows vision to a pinhole. Block peripheral sight safely:
- Cut black electrical tape into 1-inch strips
- Starting from the outer edge, apply tape in concentric circles toward the center
- Leave a 1.5-inch diameter opening in the middle (adjust smaller for advanced drills)
- Critical check: Ensure no tape touches the wearer’s skin—leave 1/4 inch gap around the frame
Time estimate: 10 minutes per goggle. For progressive impairment training, create multiple pairs with 1.5″, 1″, and 0.5″ openings to demonstrate worsening vision loss. Always pair tunnel vision goggles with a spotter—users can’t see obstacles beyond their narrowed field.
Assembling Your Goggles Without Toxic Fumes
Glue fumes trapped near eyes cause irritation that ruins simulations. Follow this assembly sequence:
- Prepare all lenses before handling goggles
- Apply glue only to the outer rim of lens mounts (never near optical zones)
- Use hot glue in 1/2-inch dots, not continuous lines, to allow ventilation
- Let goggles cure for 24 hours in a well-ventilated area before use
Warning: Never seal petroleum jelly directly into frames—always sandwich between plastic. If jelly leaks during use, stop immediately; skin contact causes irritation.
Testing Your DIY Goggles: The 3-Step Safety Validation
Before training others, validate your goggles with this protocol:
- Hazard check: Wear goggles while walking slowly in a clear room. You should detect major obstacles (walls, furniture) but struggle with fine details (text on a phone).
- Nausea test: Perform head turns for 30 seconds. Stop if dizziness occurs—adjust lens distortion downward.
- Spotter verification: Have a partner confirm you maintain basic spatial awareness (e.g., “Can you see my hand when I wave at arm’s length?”)
Red flags: Complete blindness, headache within 60 seconds, or inability to recognize large objects mean the goggles are unsafe. Disassemble and reduce impairment effects immediately.
Real-World Training Drills That Demand These Goggles
Maximize impact with scenario-based exercises:
- Driver education: Set up cones 15 feet apart; have students navigate while wearing alcohol-simulation goggles. They’ll instantly understand why swerving occurs.
- Workplace safety: Time workers stacking blocks with tunnel vision goggles—then discuss how peripheral vision loss causes forklift accidents.
- Elder care training: Nurses wearing cataract-simulating goggles attempt pill sorting to grasp patient challenges.
Pro tip: Always debrief immediately after drills. Ask “What surprised you?” rather than “Wasn’t that scary?” to foster constructive reflection.
Maintaining Your Impairment Goggles for Long-Term Use
Extend goggle life with these practices:
- Store lenses in padded cases away from heat (petroleum jelly melts at 100°F)
- Clean wax paper layers with dry microfiber cloths only—no liquids
- Replace sanded lenses every 20 uses as scratches wear smooth
- Label each pair with its impairment type (e.g., “Alcohol Sim – Level 2”)
Critical reminder: Never share goggles between users due to hygiene risks. Provide disposable nose pads for multi-user training sessions.
Creating effective impairment goggles isn’t about perfect replication—it’s about triggering that “aha” moment when theoretical risks become visceral reality. By following these precise construction methods, you transform $10 of household materials into a safety training powerhouse that makes impairment consequences undeniable. The next time someone claims “I can handle one more drink,” hand them your DIY goggles and a set of keys—then watch attitudes change in real time. For organizations serious about preventing accidents, how to make impairment goggles is the ultimate empathy engine: simple to build, impossible to forget, and proven to save lives through experiential truth. Start building yours today, and turn safety training from a box-ticking exercise into a culture-shifting experience.


