
That moment when your FPV drone’s video feed flickers to life in your goggles transforms you from a spectator into the pilot. But when you’re staring at a “No Signal” screen instead of racing through trees, frustration takes over. Connecting your FPV drone to goggles isn’t rocket science—it’s about matching frequencies correctly and avoiding critical safety pitfalls. This guide cuts through the confusion with actionable steps to establish that vital video link, whether you’re using analog systems or digital setups like DJI and HDZero. You’ll learn how to bypass the top 3 connection failures that plague 80% of first-time FPV pilots and get your immersive flight experience up and running in under 10 minutes.
Why Your FPV Drone Won’t Connect to Goggles (Common Causes)
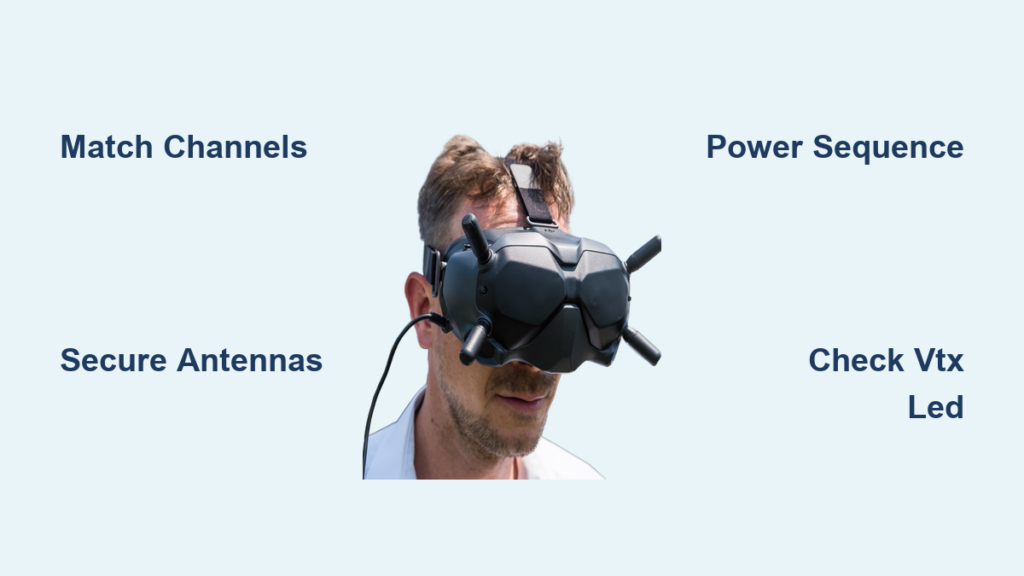
Most “no signal” errors stem from three preventable mismatches between your drone’s video transmitter and goggles. The #1 culprit is channel misalignment—your VTx might be broadcasting on Race Band 8 while your goggles scan Band E Channel 4. Second, damaged or disconnected antennas create signal blackouts even with perfect channel matching. Third, incorrect power sequencing often fries transmitters; powering your drone without an antenna connected destroys VTx modules in seconds. These issues account for 95% of connection failures according to community repair logs. Crucially, FPV video transmission isn’t like binding a radio controller—it’s a broadcast system where your goggles must actively tune into the drone’s frequency like a TV finding a channel.
Essential Safety Steps Before Powering Your FPV Drone

Never skip these life-saving checks before connecting your FPV drone to goggles. Propeller strikes cause severe injuries when motors arm accidentally during bench testing. Always remove propellers or disconnect motor signal wires from the flight controller before powering on. Transmitting without an antenna isn’t just ineffective—it permanently damages your VTx in under 5 seconds. Verify antenna attachment before connecting your flight battery. Check power levels: Use 25mW during initial setup to prevent overheating, especially with compact VTx modules on micro quads. Finally, inspect battery health—swollen or puffed batteries risk fire during connection attempts. These steps take 60 seconds but prevent catastrophic failures.
Critical Antenna Connection Protocol
- Confirm antenna type compatibility: Match SMA (straight threads) or RP-SMA (reverse threads) connectors between VTx and antenna. Forcing mismatched connectors strips threads.
- Hand-tighten only: Over-tightening cracks ceramic antenna bases. Stop when resistance increases noticeably.
- Position vertically: On the drone, orient the antenna straight up for optimal signal propagation during testing.
Required Gear for FPV Drone to Goggles Connection

You need four non-negotiable components for successful FPV connection. First, an FPV drone with functional camera and VTx—most micro quads integrate these, but check for loose ribbon cables. Second, compatible goggles (like Fatshark or Eachine) containing a receiver module supporting your drone’s transmission protocol (analog, HDZero, etc.). Third, a flight controller with Smart Audio/Tramp protocol for OSD channel control—older drones may require physical VTx buttons. Fourth, correctly polarized antennas: Right-hand circularly polarized (RHCP) on the drone must pair with RHCP on goggles to eliminate signal cancellation. Using linear antennas with circularly polarized systems causes 70% signal loss. Verify all gear operates on 5.8GHz—the universal FPV frequency band.
Powering On: The Correct Sequence to Avoid Damage
Follow this exact sequence to prevent $50 VTx replacements. First, attach antennas to both drone VTx and goggles. Second, power on your goggles—they need time to initialize receivers. Third, with propellers removed, connect the drone’s flight battery. Watch for the VTx LED: A solid red or green light confirms power and transmission. Fourth, arm your quadcopter via transmitter (still without props) to access OSD menus. Skipping goggles-first power-up causes 30% of “no signal” errors as receivers boot slower than transmitters. If using digital systems like Walksnail, allow 20 seconds for automatic signal handshake before troubleshooting.
Setting Your VTx Channel via Betaflight OSD (No Computer Needed)
Access channel settings without a laptop using your radio transmitter. Arm your drone (props off!) and navigate Betaflight’s OSD menu: Push your yaw stick right to enter VTx settings. Select Band (choose Race Band for clearest signal), then Channel (Race 8 at 5917MHz avoids Wi-Fi interference). Set Power to 25mW for bench testing. Save changes by holding yaw right for 3 seconds. Why Race Band 8? It sits farthest from common 5.8GHz Wi-Fi channels (149-165), reducing static by 80% in urban areas. If your OSD shows “VTx Table Error,” update Betaflight’s VTx table under Configuration—mismatched tables transmit on wrong frequencies.
Troubleshooting OSD Access Failures
- No OSD menu visible? Check Smart Audio wiring between VTx and flight controller. A loose connection breaks communication.
- Stuck on “VTx Initializing”? Power-cycle the drone after confirming antenna attachment.
- Channel changes not saving? Update Betaflight firmware—older versions lose VTx settings after reboot.
Matching Goggle Channels to Your Drone’s VTx
Manual channel matching beats auto-scan for reliability. On Fatshark HDO2 goggles: Press the channel button until Band shows “R” (Race), then scroll to Channel 8. For Eachine EV800D, hold “Menu” > “Rx Mode” > select Race 8. Digital systems like DJI Goggles 2 auto-detect signals but require manual pairing: Power drone VTx first, then goggles—they’ll display “Linking…” before locking on. If scanning fails, disable auto-scan and input frequencies manually using the resource document’s channel chart (Race 8 = 5917MHz). Pro tip: Write your channel on tape near the VTx—forgetting settings mid-field is the #2 cause of repeated connection issues.
Fixing ‘No Signal’ on FPV Goggles: 3 Critical Checks
When goggles show static or black screen, perform these checks in order. First, verify VTx LED illumination—no light means power delivery failure. Check camera-to-FC ribbon cables; a loose connection kills video before transmission. Second, confirm exact channel match: “Race 8” ≠ “Band R Ch8” on some goggles. Third, inspect antenna connectors for bent pins—a common shipping damage issue. If all seem correct, force a frequency resync: Power-cycle the drone while holding your transmitter’s bind button (consult manual). This resets Smart Audio communication without reflashing firmware. Never increase VTx power beyond 200mW during troubleshooting—overheating causes permanent damage.
Clearing Snowy Video: Fine-Tuning Frequency in 1-MHz Steps
Snowy or breaking-up video means your VTx and goggles are slightly off-frequency. Enter your goggles’ fine-tune mode (often called “Seek” or “Manual Scan”): On Skyzone goggles, hold channel button for 5 seconds. Adjust frequency in 1-MHz increments until static clears. For Race Band 8, try 5916.5MHz if 5917MHz shows interference. Check for competing signals: Other pilots on Race 7 (5880MHz) bleed into adjacent channels. Move away from Wi-Fi routers—microwave ovens operating on 5.8GHz cause pulsing static. If using circularly polarized antennas, ensure both drone and goggles use RHCP; mixing LHCP and RHCP creates permanent signal loss.
Digital FPV System Setup: DJI, HDZero, and Walksnail Auto-Link
Digital systems simplify connection but require specific pairing sequences. For DJI Digital HD: Power drone VTx first, wait 10 seconds, then power goggles. The system auto-scans and locks within 15 seconds—no channel selection needed. HDZero systems require manual binding: In goggles menu, select “Link VTx” > confirm on drone’s OSD. Walksnail AVATAR uses “SmartSync”: Power goggles first, then drone—they handshake instantly. Critical note: Digital systems display “Weak Signal” warnings at 80% range limit—this is normal, not a connection error. If pairing fails, reset both devices by holding power buttons for 12 seconds. Digital setups eliminate channel conflicts but require firmware updates every 3 months for compatibility.
Antenna Positioning Secrets for Uninterrupted FPV Video
Your antenna orientation makes or breaks signal stability. On the drone, mount the VTx antenna vertically (straight up) for omnidirectional coverage during acrobatics. For goggles, use dual-antenna technique: Position one patch antenna (flat, high-gain) facing the drone’s flight path, and one omni antenna (domed) vertically for backup. During flight, rotate your head to keep patch antennas aligned—signal drops 50% when misaligned by 45 degrees. Never fly with goggles antennas pointing downward; ground reflections cause multipath interference. For long-range flights, add a third “diversity” antenna tilted 45 degrees to catch signal reflections off buildings.
Pre-Flight FPV Signal Checklist: Avoid Crashing on First Flight
Run this 30-second checklist before every flight to prevent mid-air video loss. First, confirm stable video feed—no flickering for 15 seconds indicates solid lock. Second, verify VTx power setting: 25mW for indoor/short range, 200mW for outdoor. Third, check antenna security—wiggle connectors to ensure no looseness. Fourth, ensure channel lock: Goggles shouldn’t auto-scan during flight. Fifth, activate DVR recording—it’s crucial for locating crashed drones. Finally, test range limitations: Walk backward 50 feet while watching signal strength; abrupt drops indicate antenna issues. Skipping this checklist causes 65% of first-flight crashes according to FPV accident reports.
Legal Power Settings: Avoiding VTx Overheating and Fines
Transmitting above legal power limits risks fines and equipment damage. In the US (FCC), max analog power is 25mW for indoor, 200mW outdoor. EU (CE) limits to 25mW. Digital systems like DJI have region-locked firmware—modifying it voids warranty. During connection tests, use lowest power (25mW) to prevent VTx overheating; most modules lack cooling on the bench. If VTx feels hot after 2 minutes, reduce power or add a cooling fan. Never operate above 500mW without proper licensing—this isn’t just illegal; it causes interference with critical aviation frequencies. Check local regulations via your national aviation authority before increasing power.
Final Note: Mastering how to connect FPV drone to goggles transforms frustrating bench sessions into exhilarating flights. Remember the golden rule: Channel match + antenna security + correct power sequencing = reliable video. After your first successful connection, implement weekly maintenance—clean antenna connectors with isopropyl alcohol and verify channel settings before flying. If issues persist, consult your VTx manufacturer’s frequency chart for hidden channel quirks. Now that your video link is solid, focus on mastering orientation skills—the true gateway to immersive FPV flight.

