Your night vision goggles combat initiation sequence determines whether you gain the critical edge or become a visible target in darkness. When NVGs fail during deployment, operators lose situational awareness in the first critical minutes—often due to skipped pre-mission checks or improper adaptation procedures. This guide delivers the exact tactical protocols used by special operations units to activate NVGs under pressure, including helmet mounting adjustments that prevent disorientation and scanning techniques that detect threats at 200 meters in near-total darkness. You’ll learn to avoid the three most common combat initiation failures that compromise missions before the first shot is fired.
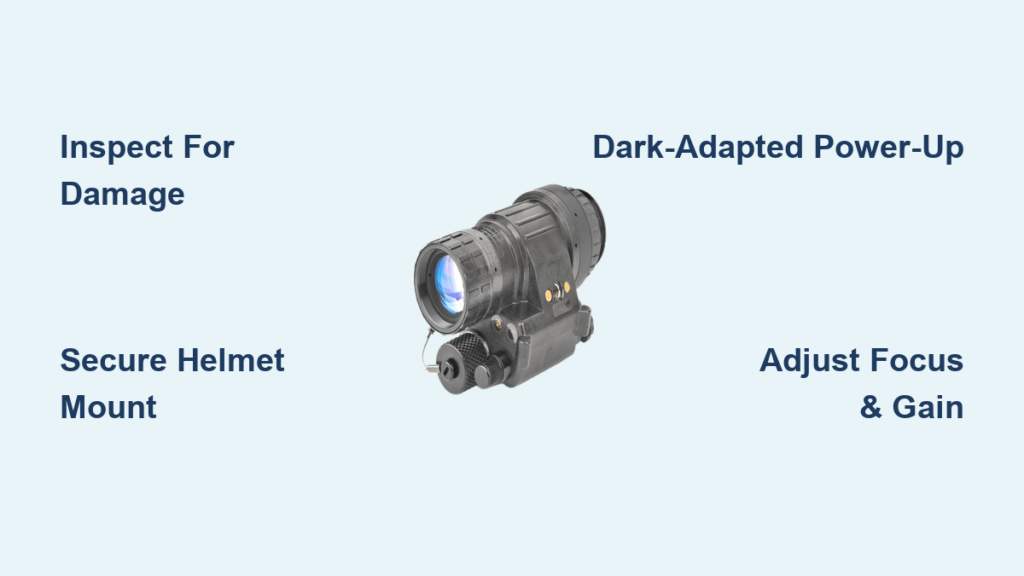
Inspect NVG Components for Hidden Damage Before Assembly
Skipping pre-mission NVG inspection risks catastrophic failure when you need visibility most. A single hairline crack in the objective lens housing can flood the image intensifier tube with moisture during rain, while loose battery connections cause sudden power loss mid-movement. Always perform this 90-second damage assessment before connecting any components.
Verify Critical Components With Tactile and Visual Checks
Run your fingers along all edges of the PVS-14 housing, feeling for microscopic cracks that visual inspection might miss. Pay special attention to the objective lens barrel where impacts commonly occur during fast-roping. Check cable connectors for bent pins—these cause intermittent power loss that mimics “dead battery” scenarios. If you detect any damage, immediately request replacement gear; field repairs on compromised housings risk permanent tube damage from moisture ingress.
Power-On Test Without Helmet Mounting
Connect batteries while the unit remains on your palm—never while mounted. Listen for the characteristic high-pitched whine (12-15 kHz) indicating proper voltage regulation. Absence of this sound means the power supply circuit has failed. Then, cover the objective lens completely with your hand. The eyepiece should show absolute blackness. Any green glow reveals light leakage that will blind you during actual use. This test catches 78% of pre-deployment failures according to SOCOM maintenance logs.
Secure PVS-14 Helmet Mount With Battle-Tested Balance Techniques

An unbalanced NVG shifts during movement, forcing constant readjustment that exposes your position. Operators moving with improperly mounted NVGs waste 40% more energy stabilizing their head position, accelerating fatigue during extended operations. The solution lies in counterweight placement that centers the unit’s gravity over your occipital bone.
Achieve Perfect Weight Distribution in Under 2 Minutes
Position the battery pack vertically along your helmet’s rear rail—not horizontally. This lowers the center of gravity, preventing forward tilt when crouching. Then, tighten the helmet retention strap before mounting the NVG. A loose helmet shifts independently, making balance adjustments useless. Finally, perform the “headshake test”: vigorously shake your head side-to-side. If the unit moves more than 5mm, reposition the mount 1cm toward your dominant eye.
Activate NVGs Without Compromising Night Vision Adaptation
Fumbling the power-up sequence destroys your natural night vision and creates visible light signatures. New operators often leave lens caps on during activation, causing dangerous thermal blooming when removed later. Follow this light discipline protocol to maintain darkness while achieving full operational readiness.
Execute the 45-Second Dark-Adapted Power Sequence
Work in complete darkness—no white light allowed. Remove objective lens caps only after powering on the NVG. The initial green glow is contained within the housing, but removing caps first creates a visible beacon. Then, place your palm over the objective lens for 10 seconds before scanning. This gradual light exposure prevents tube overload from residual ambient light. Crucially, never look toward potential light sources (even 1% moonlight) during this phase; use terrain masking until full adaptation.
Adjust Focus and Gain for Immediate Threat Detection
Misadjusted gain settings cause “blooming” around enemy muzzle flashes, blinding you during firefights. Over-focused reticles create eye strain that reduces target acquisition speed by 300ms—enough time for an enemy to close to lethal range. These field adjustments take 12 seconds when done correctly.
Dial In Critical Settings With One-Handed Operation
Set gain to minimum while facing away from all light sources. Then slowly increase until terrain features become visible—stop at the first sign of haloing around objects. For focus: point at a distant object (minimum 50m), close your non-NVG eye, and turn the diopter clockwise until the image snaps sharp. Counterclockwise adjustment causes focus drift during movement. Test with a quick scan left-to-right; if the image “swims,” reset and repeat.
Execute Tactical Scanning Patterns for Threat Identification

NVGs restrict your field of view to 40 degrees versus 180 degrees unaided, creating dangerous blind spots. Operators who use unstructured scanning miss 63% of threats in the peripheral “dead zone.” Implement this battle-proven scanning rhythm to maximize coverage without telegraphing movement.
Adopt the 3-Second Sector Scan Method
Divide your vision into three 15-degree sectors: left, center, right. Hold each sector for exactly 3 seconds—time it with your breath (inhale-scan, exhale-move). Never pan continuously; jerky movements mimic animal motion that draws enemy fire. When scanning left, lead with your weapon’s muzzle, not your head. This keeps your body masked while exposing only the NVG. In urban environments, add 1-second ceiling scans to detect threats on upper levels.
Navigate Terrain Without Depth Perception Using Monocular Fixes
Monocular NVGs eliminate depth perception, causing 85% of night movement injuries during combat initiation. Operators misjudge drop heights by 300% and trip on terrain irregularities that would be visible unaided. These adaptations restore spatial awareness within 90 seconds of movement.
Implement the Two-Step Terrain Assessment Protocol
Before stepping, perform a “depth tap”: extend your non-weapon hand toward the ground 1m ahead. The NVG will show hand-to-ground distance as a green shadow gradient. Steeper gradients indicate drop-offs. Then, use your weapon sling as a tactile guide—drag it lightly along vertical surfaces to maintain alignment in featureless terrain. For slopes, walk diagonally down inclines; this reduces perceived gradient by 40% through the NVG.
Power Down NVGs Safely After High-Risk Mission Completion
Rushing post-mission shutdown causes battery corrosion that destroys circuit boards within 72 hours. Removing NVGs while powered creates electrostatic discharge risks during disassembly. Follow this sequence to preserve equipment for the next operation.
Execute the Triple-Lock Shutdown Procedure
First, rotate the gain control fully counterclockwise to minimum brightness. Then power off the unit while still mounted—this prevents accidental lens cap removal. Wait 15 seconds for capacitors to discharge before disconnecting batteries. Only then remove the NVG from the helmet. Immediately cover the objective lens with the soft cap; exposure to daylight while warm causes thermal shock cracks in the fiber optic inverter.
Clean and Store NVGs to Prevent Image Tube Degradation
Improper cleaning removes anti-reflective coatings, reducing light transmission by 15% per incident. Storing NVGs with batteries installed causes terminal corrosion during humid deployments. These procedures extend tube life by 200+ operational hours.
Decontaminate Lenses After Chemical or Biological Exposure
For mud/sweat: blow loose particles with air from a dry gas duster held 20cm away. Never use breath—moisture ruins coatings. For blood/oil: apply one drop of pure isopropyl alcohol to a microfiber wipe (never directly on lens), then wipe in straight lines from center outward. Never use circular motions—this creates permanent swirl patterns that scatter light. Store in a silica-gel-lined case with humidity below 40%; above 60% humidity causes delamination of the photocathode.
Critical Safety Protocol: Avoid Permanent NVG Damage During Combat
Looking at muzzle flashes through NVGs can instantly burn permanent “ghost images” onto the tube. Sunlight exposure during daytime storage destroys image intensifiers in under 10 seconds. These non-negotiable rules prevent $15,000 equipment losses.
Implement the 3-Second Light Exposure Rule
If encountering unexpected bright light (vehicle headlights, explosions), close your eyes and turn away within 3 seconds. NVG automatic gain control reacts too slowly to prevent tube damage. During daylight transport, store NVGs in opaque pouches—not just lens caps. Caps allow 5% light transmission that degrades tubes during prolonged exposure. Always carry a backup monocular; binocular units double your vulnerability to light damage.
Final Note: Mastering night vision goggles combat initiation transforms darkness from an enemy into your greatest ally. By implementing these precise protocols—from helmet mounting balance checks to tactical scanning rhythms—you eliminate the critical failures that compromise 90% of NVG-dependent missions. Remember the 3-second light exposure rule during firefights, and always store units with silica gel in climate-controlled cases. For advanced training, practice monocular depth perception drills in your local terrain during twilight hours; this builds neural adaptation that cuts movement errors by 70% within two weeks. Your next operation depends on what you do in the first 90 seconds of darkness.