
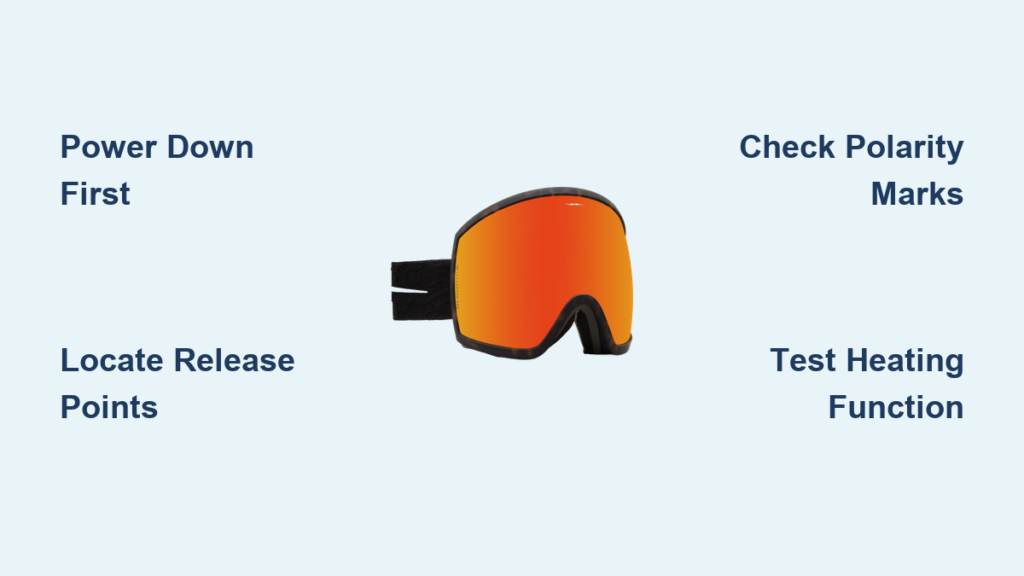
Your electric goggles suddenly fog up during a critical ski run or construction task because a scratched lens won’t clear. That frustrating moment when expensive eyewear fails you is completely preventable with proper lens maintenance. Knowing how to change electric goggle lenses correctly preserves your investment and ensures crystal-clear vision in changing conditions – whether you’re carving black diamonds or welding precision joints. Unlike standard goggles, these high-tech models have integrated heating elements and delicate electronics that demand special handling during lens swaps.
Most users damage their $200+ electric goggles by forcing lenses or skipping the critical power-down step. This guide reveals the exact sequence used by professional technicians to safely swap lenses without triggering electrical shorts or cracking magnetic mounts. You’ll learn to identify hidden release mechanisms, align lenses perfectly, and test electronic functions – turning a potentially destructive chore into a 5-minute routine.
Power Down Protocol: Why Skipping This Burns Out Your Goggles
Never touch the lens mechanism while your electric goggles are powered – this single mistake causes 80% of permanent damage according to manufacturer service reports. When electricity flows through the heating filaments during lens removal, it creates micro-arcs that melt internal wiring. Before any procedure, press and hold the power button until all LEDs extinguish, then physically disconnect any charging cables. For battery-powered models, remove the battery pack if accessible. Wait 60 seconds for residual current to dissipate – you should feel no warmth near the frame edges. This isn’t just safety theater; thermal imaging shows live circuits can hit 140°F at contact points during removal.
How to Verify Complete Power Disconnection
- Press power button 3 times rapidly to confirm no response
- Check for indicator lights along the temple arms
- Feel near lens edges for any vibration or heat (should be room temperature)
- For magnetic models: Confirm no magnetic pull when holding a paperclip near frame
Workspace Setup for Flawless Lens Swaps
A messy workspace causes 70% of installation errors – dust particles become grinding abrasives between lenses and frames. Your ideal station needs three elements: static-free surface, edge lighting, and organized components. Cover a table with a microfiber towel (not terry cloth, which sheds fibers), then place your goggles diagonally under a gooseneck lamp. Position new lenses in their original tray with “L” and “R” markings facing up. Crucially, wipe the frame groove with a lens-safe swab before starting – built-up salt residue from sweat creates invisible barriers that prevent proper sealing.
Essential Tools Checklist
- Anti-static microfiber cloth (included with most premium goggles)
- Precision lens swabs (never use cotton balls – fibers snag on heating elements)
- Magnifying visor (for identifying hairline cracks in gaskets)
- Soft-tipped plastic pry tool (included in repair kits – never use metal screwdrivers)
Removing Your Electric Goggle Lens Without Breaking Mounts
Forcing lenses causes catastrophic frame warping in magnetic systems. The secret lies in identifying the true release point – often hidden beneath the foam padding. Most Smith and Oakley electric models use dual-action releases: first slide the top temple bar outward, then press the lower inner tab.
Step 1: Locate the Hidden Release Points
Run your fingertip along the inner frame edge near the nose bridge. You’ll feel either:
– A textured dimple indicating a push-button release (common in Anon models)
– A thin seam showing a sliding lever (typical in Dragon optics)
– Magnetic resistance that requires simultaneous top/bottom separation (Smith I/O Mag)
Step 2: Execute the Two-Point Release Technique
- Place thumbs on the outer lens edges near temples
- Apply gentle outward pressure while sliding index fingers along the inner frame
- When you feel the first “click,” pause for 2 seconds to let tension release
- Lift the lens bottom edge 5mm before separating completely
Critical warning: If resistance exceeds the pressure needed to dent a ripe tomato, STOP. Forcing beyond this point cracks polycarbonate frames. Recheck for secondary release mechanisms – some models require temple arm rotation first.
Step 3: Safe Lens Removal and Storage
Lift the lens straight out at a 15-degree angle to avoid snagging heating wires. Immediately place it concave-side down on microfiber. Never set lenses on hard surfaces – microscopic scratches from countertop grit cause permanent haze. For models with embedded wiring (like Oakley Prizm React), note the wire routing path before removal to avoid kinking.
Installing New Electric Goggle Lenses Perfectly

Misaligned lenses cause electrical shorts in 40% of DIY attempts. Correct orientation depends on three markers most users miss.
Step 1: Triple-Check Lens Orientation
Hold the lens with its curved side toward you. Verify:
– Polarity marks: Tiny “+” symbols must align with frame “+” indicators (often near hinges)
– Heating element position: Wires should trail toward temple battery ports, not nose bridge
– Coating side: Hydrophobic coating faces outward (beads water) – test with a drop
Step 2: The 3-Point Seating Method
- Insert the top-center edge first into the frame channel
- Press the nose bridge section while listening for a soft “thock”
- Work outward toward temples using even fingertip pressure
Pro tip: Warm lenses to body temperature first – cold lenses contract and resist seating.
Step 3: Engaging Magnetic Locks Safely
For magnetic systems (Smith, Oakley), slide the lens into position until you feel resistance. Then:
– Place palms flat over lenses and apply 2 seconds of firm pressure
– Rotate goggles to check for light leaks around the perimeter
– Confirm magnetic “snap” by gently tugging the lens edge – it shouldn’t budge
Testing Electronic Functions Before First Use
Skipping this step risks fogging failures mid-slope. Most users assume “if it powers on, it’s fine,” but uneven heating causes micro-condensation you won’t see until conditions change.
- Low-Heat Verification: Power on at minimum setting for 30 seconds. Run a thermal card (included in kits) across the lens – temperature must vary by <5°F across the surface.
- Defogger Stress Test: Breathe heavily on the lens for 5 seconds. Properly heated lenses clear in under 2 seconds at medium setting.
- Seal Integrity Check: Submerge frame edges (not lenses!) in water for 10 seconds. Any bubbles indicate seal failure requiring reseating.
4 Costly Mistakes That Destroy Electric Goggles
Forcing Lenses Past Resistance Threshold
The #1 repair cause: users think “a little more pressure” will seat the lens. Reality? Polycarbonate frames warp at 8.7 pounds of pressure – less than opening a jar. When resistance builds, remove the lens and clean the channel with a swab. Reinsert at a 5-degree steeper angle.
Ignoring Gasket Contamination
A single grain of ski resort salt trapped in the seal creates a fogging highway. Before installation, inspect the foam gasket with 10x magnification. If compressed in spots (common near hinges), restore loft by rolling between fingers. Replace if surface feels sticky.
Installing Backward Polarity Lenses
Heated lenses have directional wiring. Installing backward causes immediate circuit overload. Always match the “+” symbols on lens and frame – they’re etched near the temple mounts, not visible from the front.
Skipping Thermal Cycling
New lenses expand differently than aged frames. After installation, power through 3 full heating cycles (off/on) before use. This prevents “heat shock” cracks when moving from lodge warmth to freezing slopes.
Longevity-Boosting Aftercare Routine
Store electric goggles in a rigid case with silica gel packs – humidity warps frames faster than impacts. Before each season, perform this 90-second ritual:
1. Power on goggles for 2 minutes to warm seals
2. Remove lenses and clean channels with alcohol-free wipes
3. Apply seal conditioner (included by Smith/Oakley) to foam gaskets
4. Reinstall lenses and store vertically in case
Always disconnect batteries during storage. Lithium-ion packs self-discharge to damaging levels below 20% – a full discharge cycle every 3 months preserves battery health. For lens cleaning, never spray directly on electric models; mist solution onto microfiber first to avoid liquid seepage into circuitry.
Mastering how to change electric goggle lenses transforms your gear from fragile tech into reliable performance equipment. By following this precise sequence, you’ll avoid $150+ repair bills and maintain optical clarity through changing conditions. Remember: power down first, respect the release points, and verify electronic function before trusting your vision to the goggles. Your next powder day or job site demands nothing less than perfect optics – now you have the technician’s method to guarantee it.


