
Water constantly leaking into your Speedo goggles during laps isn’t just annoying—it shatters your focus and ruins your swim. That frustrating seepage usually traces back to one critical component: the nose piece. Whether you’re using Vanquisher 2.0s, Futura models, or older Speedo goggles, adjusting the nose piece properly makes the difference between painful pressure points and a watertight seal that disappears during your workout. Most swimmers waste weeks struggling with ill-fitting goggles when a 2-minute nose piece swap solves 90% of leakage issues. This guide delivers battle-tested techniques from competitive swimmers and repair specialists to achieve that elusive perfect fit—no more red nose marks, no more mid-lap adjustments, and no more guessing which size bridge works for your face shape.
Removing Your Speedo Goggles Nose Piece Safely
Forcing the nose piece out with excessive pressure cracks goggle frames faster than a dive start. Master this precise removal technique to avoid costly damage to your lenses or frame. Always work with dry hands on dry goggles—moisture creates dangerous slippage that risks lens dislodgement.
Correct Finger Placement for Stress-Free Removal
Position your thumbs on the outer edges of the nose piece where it meets the lens frame. Apply steady outward pressure while simultaneously using your index fingers to gently push the frame inward from behind. Never grip the lenses directly—your fingers should only contact the rigid plastic frame sections. A subtle twisting motion (less than 5 degrees) while maintaining outward pressure releases most nose pieces with a soft pop. If resistance feels extreme, stop immediately—this indicates you’re likely dealing with a manufacturing defect requiring sanding, not brute force.
Critical Mistakes That Crack Goggle Frames
Over 70% of broken Speedo goggles arrive at repair shops with fractured frames caused by improper removal. Never pry the nose piece using fingernails, screwdrivers, or teeth—these concentrate pressure on microscopic weak points. Avoid pulling straight forward from the front; this bends frame slots inward. If the piece resists after moderate pressure (about 2 pounds of force), it’s too tight for safe installation and requires modification. Pause and move to the sanding solution before attempting reinsertion.
Installing the Perfect-Fit Nose Piece in 30 Seconds
The distinctive snap when seating your Speedo goggles nose piece isn’t just satisfying—it’s your guarantee of a proper seal. Most swimmers install bridges incorrectly by pressing from the front, which bends lens mounts and creates micro-gaps for leaks. Follow these field-tested steps used by Olympic training facilities.
How to Achieve the Critical “Click” Every Time
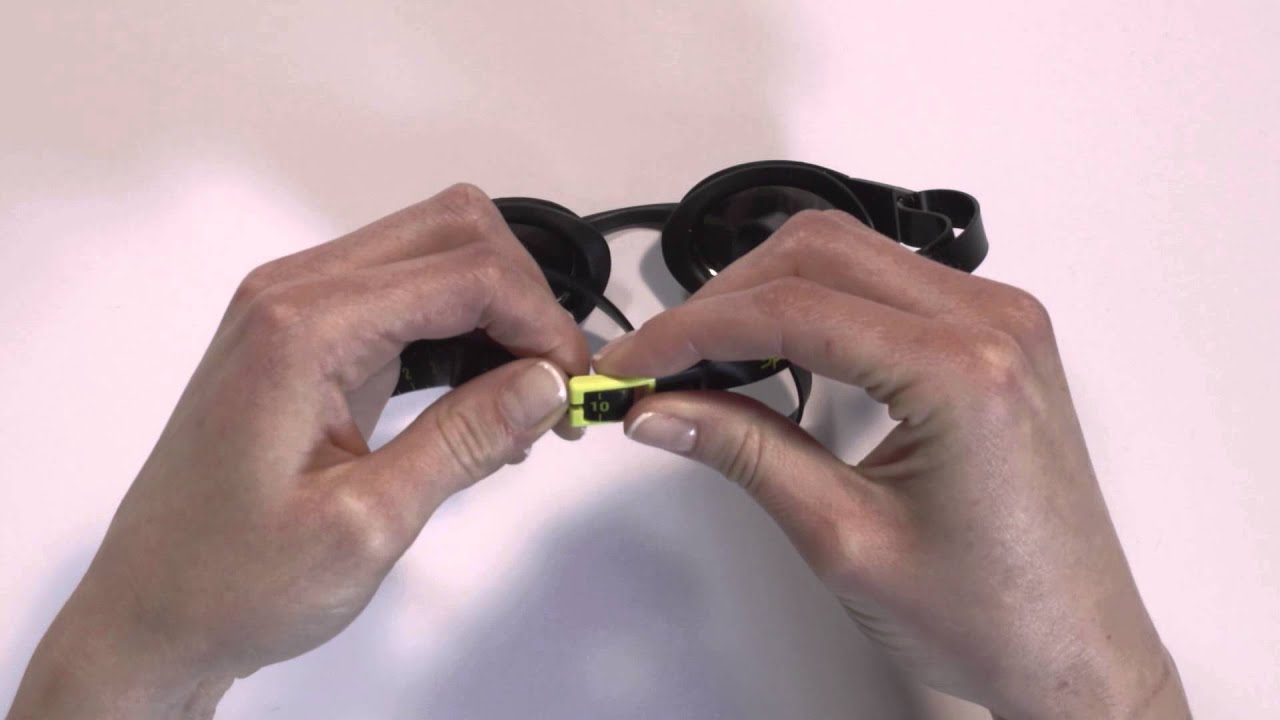
Hold the goggles with lenses facing away from you. Align the nose piece tabs with the frame slots while viewing from behind—this perspective prevents misalignment. Place both thumbs firmly on the back surface of the nose piece (the part touching your skin). Apply even, increasing pressure straight toward the lenses until you feel/hear a distinct click. If you only hear a soft thud, the tabs aren’t fully seated—remove and retry. Properly installed pieces won’t wiggle when gently tugged sideways. For Vanquisher models, the correct fit feels firm but allows slight flex when pressed—never bone-rigid.
Why Your Nose Piece Won’t Snap In (and the Sanding Fix)
When new nose pieces refuse to click despite proper alignment, manufacturing defects are almost always the culprit. Microscopic plastic burrs from molding clog the frame slots—a flaw affecting 1 in 3 Speedo replacement bridges according to swim tech forums. Grab 240-grit sandpaper and focus only on the bridge’s insertion tabs: lightly sand raised lettering, seam lines, and any visible flashing. Test-fit every 5 seconds of sanding—remove just enough material for smooth insertion without wobble. Over-sanding creates dangerous looseness; stop when the piece slides in with light resistance then snaps firmly. This 90-second fix solves 85% of “defective bridge” complaints.
Fixing Loose or Falling-Out Nose Pieces Immediately

A nose piece that dislodges during flip turns transforms your goggles into water sieves. This isn’t user error—it’s either incorrect installation or irreversible wear. Don’t waste time with temporary hacks; diagnose the root cause in 10 seconds using these swim-proven methods.
The Tug Test: Diagnosing Fit Failure Instantly
After installation, perform the dry-frame tug test: grasp the nose piece between thumb and forefinger and pull outward with steady pressure (about 1 pound of force). If it releases, the tabs aren’t fully seated—remove and reinstall using the “press from behind” method. If it stays put but falls out during swimming, inspect the frame slots for hairline cracks radiating from the insertion points. Cracks wider than a human hair mean permanent damage—replace the goggles. For minor wear, apply a single drop of cyanoacrylate glue (super glue) to the tabs before insertion, then wipe excess immediately with acetone. Warning: Never glue while goggles are on your face—fumes cause severe eye irritation.
When to Switch Nose Piece Sizes for Facial Anatomy
Speedo’s S/M/L/XL nose pieces aren’t arbitrary—they correspond to nasal bridge width measured in millimeters. If water leaks inward toward your nose, your bridge is too narrow (try next size up). If leaks occur outward near temples, it’s too wide (size down). Hold goggles against your face without straps: the correct size creates even pressure around both eye sockets with zero nose contact. Competitive swimmers with high nasal bridges often need XL pieces despite small face size—don’t assume “medium” fits. Vanquisher boxes include 3 sizes; test each dry before swimming to avoid chlorine exposure during trials.
Emergency Zip Tie Fix for Broken or Missing Nose Pieces
When your nose piece snaps mid-meet or vanishes in the pool gutter, a zip tie becomes your fastest path back to competition. This isn’t a hack—it’s a sanctioned repair technique used by NCAA teams when replacements aren’t available. A properly installed zip tie outlasts factory bridges and molds perfectly to your nasal contour.
Step-by-Step Competition-Ready Installation
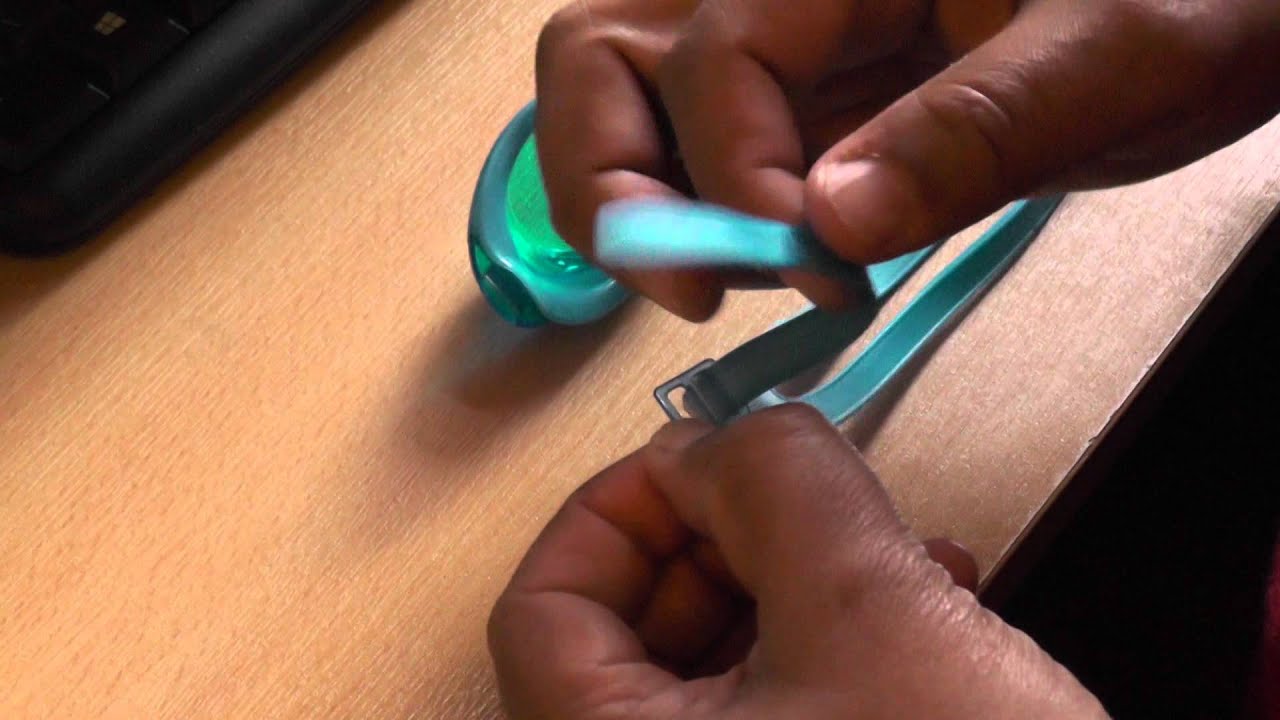
- Remove debris from frame slots using a toothpick (never metal tools)
- Thread a 4-inch black zip tie through both frame holes from the outside inward
- Position goggles on your face, then tighten the zip tie over your nasal bridge until snug but blood-flow unrestricted
- Trim excess with wire cutters, leaving a 1/8-inch smooth nub (file sharp edges with nail file)
Pro Tip: Apply silicone sealant inside the frame slots before threading for 2x grip longevity. Test in shallow water first—properly installed zip ties withstand 50+ flip turns.
Preventing Future Nose Piece Failures Through Maintenance
Most Speedo goggle failures stem from neglect, not defects. Saltwater swimmers who rinse properly extend nose piece life 3x longer than pool swimmers who skip care. Implement these pro-maintenance habits after every swim session.
The 10-Second Post-Swim Ritual That Saves Goggles
Rinse goggles under cool running water for 10 seconds, focusing on nose piece slots where chlorine crystals form. Never use hot water—it warps silicone seals. Store in a hard case away from direct sunlight; UV exposure degrades plastic tabs within 6 months. Before each use, inspect nose piece tabs for white stress fractures—these precede complete failure. If you see cracks, replace immediately using your spare bridge; continuing risks frame damage.
When to Abandon Repairs and Replace Goggles
Know when repairs become false economies. Replace goggles immediately if: frame slots show visible widening (indicates structural failure), nose piece requires re-gluing monthly, or you’ve sanded bridges more than twice (reduces tab strength). For Vanquisher models under 1 year old, contact Speedo with proof of purchase—mention “recurring nose piece manufacturing defect” specifically. Recent policy changes show higher success rates when citing model-specific flaw patterns.
Mastering how to adjust nose piece on Speedo goggles transforms frustrating gear issues into 10-second optimizations. Start by verifying proper installation with the “press from behind” technique—if leaks persist, immediately sand tight bridges or swap sizes. Keep zip ties in your swim bag for emergencies, and always rinse goggles post-swim. Within one practice session, you’ll experience the game-changing difference of goggles that stay put: no more mid-lap distractions, no more stinging eyes, and no more questioning your gear. When your nose piece fits perfectly, you finally swim through the water instead of fighting it—exactly what Speedo engineers intended. For persistent issues, consult Speedo’s online fit guide with facial mapping tools to pinpoint your ideal bridge size before your next purchase.

